Easiest DIY Photo Canvas EVER
April 22, 2015
Hello friends!
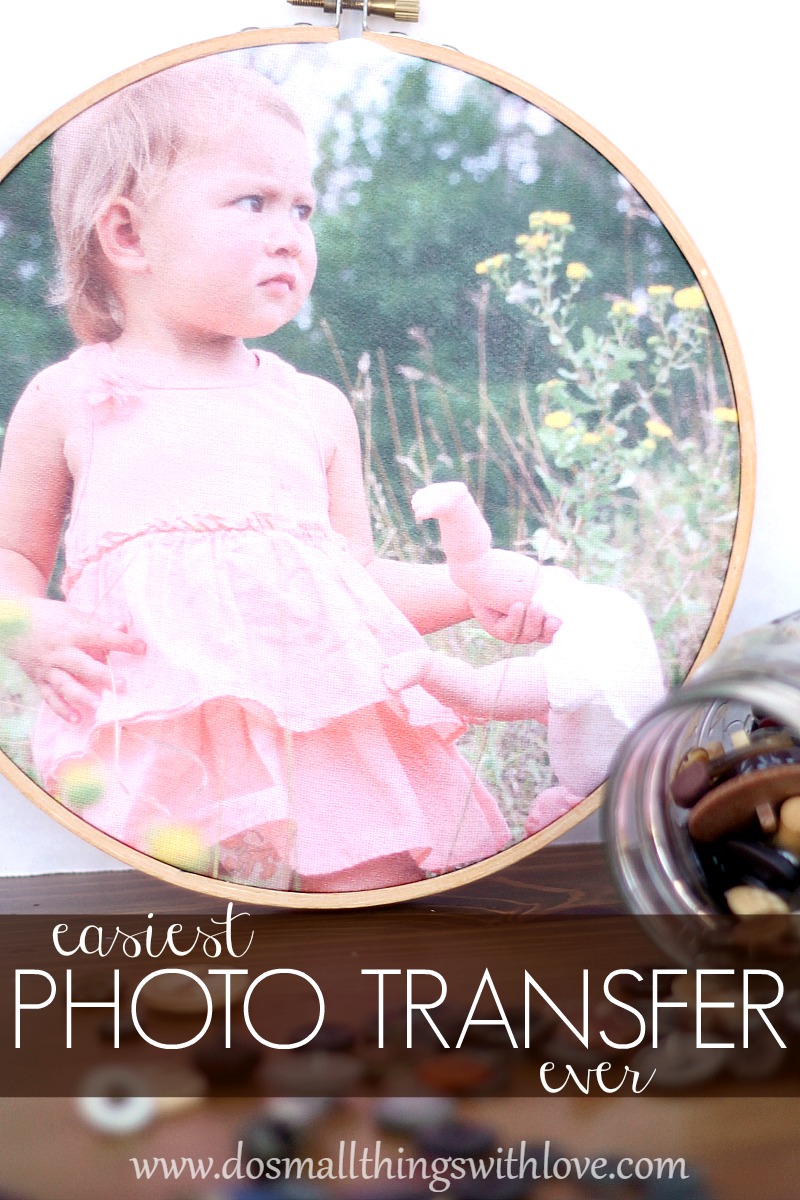
I am thrilled to share a craft today that was QUICKER and EASIER than I thought it would be. It is in fact the EASIEST DIY PHOTO CANVAS EVER!
Just wait and see.
I am particularly thrilled because, if you don’t know already, I often get pulled into a rather laborious crafting.
I like to stitch (and stitching takes a long time).
And even when it comes to photo transfers, I often find that my projects are rather involved.
Whether I am transferring a photo onto wood, glass, or canvas, a traditional photo transfer requires a lot of dry-time and, even worse, a lot of tedious rubbing and pealing time.
Don’t get me wrong, I still love transferring photos–and have 2 projects in the works now that I am excited about–but wouldn’t it be great to get the awesome photo canvas result without all the work?
Well, I happily stumbled upon the solution!
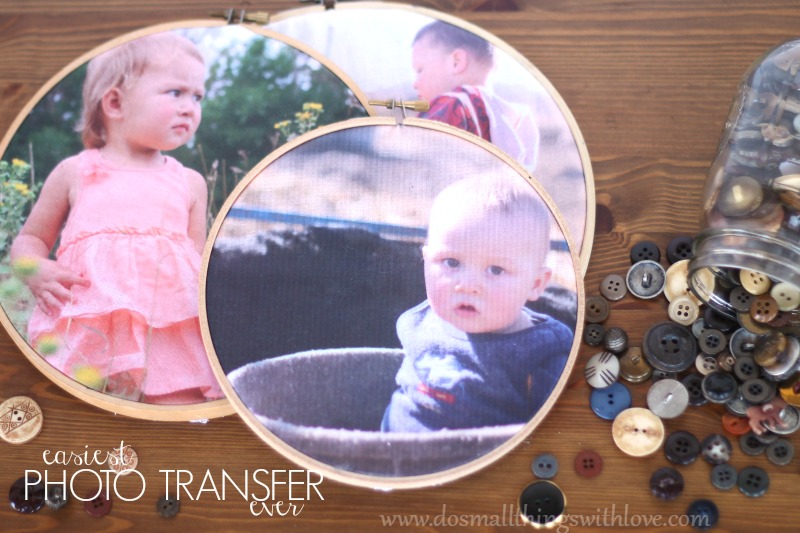
Here’s how this project came to be:
I was thinking about this embroidered photo transfer I did a while back (which I love and have proudly displayed).
I wanted to try a few new things but still use this basic idea–I wanted to try it in color and (dare I say) I wanted to eliminate the embroidery, without making the photo look too boring.
Sometimes I worry that easy means boring because I’m foolish.
I tried it.
I love it.
And, here’s how to do it yourself!
First, gather your supplies!
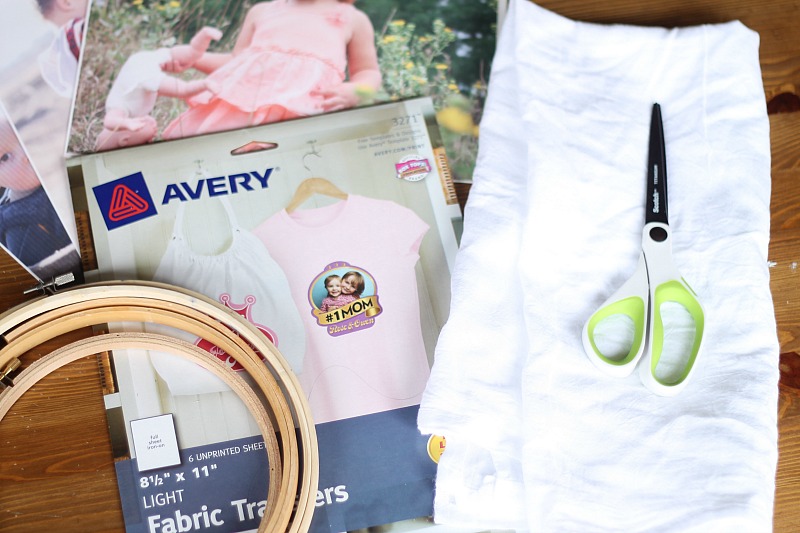
You will need:
- Fabric Transfers for Inkjet Printers (these are the exact ones I used)
- Home Printer (color)
- Wooden Embroidery Hoops (I used 7″, 8″ and 9″)
- 1 White Kitchen Towel
- Iron
- Scissors
- Beautiful pictures you wish to transfer!
- Silhouette cutter and vinyl (optional)
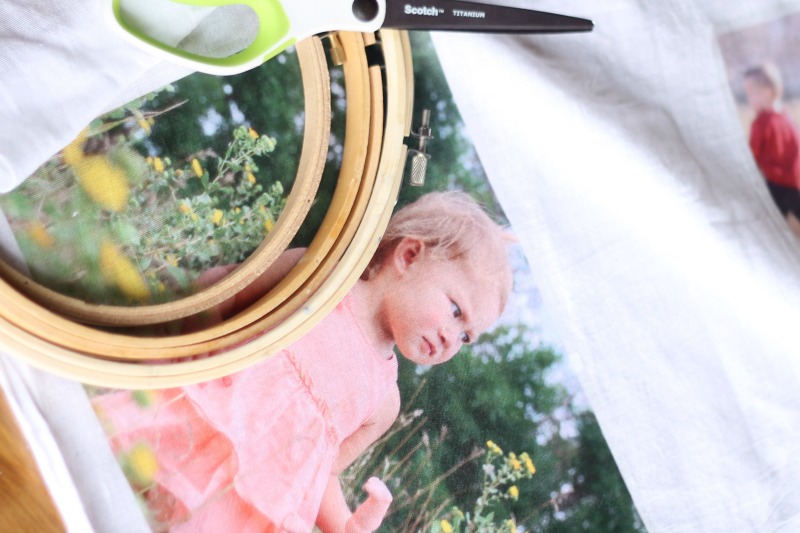
And, I bet you can see where I’m going with this!
As long as you have full-color ink cartage in your printer, you are just minutes from creating beautiful custom-framed photo canvases for your home!
First off, print out the pictures onto the Fabric Transfer sheets.
Make sure to re-size as necessary and follow the specific instructions on your Fabric Transfer Sheets.
Please note that your final photo will be BACKWARD.
So, avoid using photos with wording or anything that will look add backward.
Then, iron on the fabric transfer picture.
I used just one white kitchen towel for all three of my photo canvases.
I like this fabric because, well honestly, I had it already–but also because it is bright white and it has a loose weave that adds a canvas-like look to the pictures.
Again, follow the instructions on the package and make sure to iron down those corners and then peal carefully!
Then, place the photos into embroidery hoops.
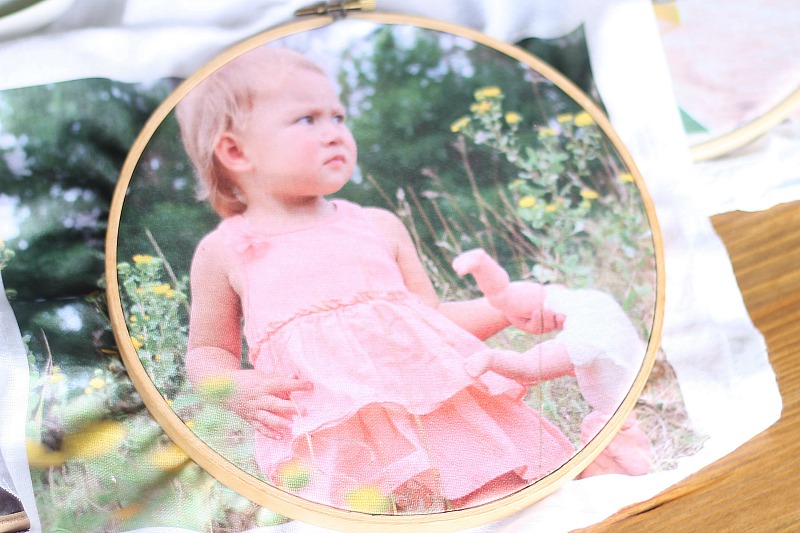
Finally, trim the edges of the fabric and finish off the embroidery hoop!
To be honest, I just trimmed the edges of the fabric–that’s it.
If an embroidery hoop is screwed tight enough the fabric won’t move.
And plus, since these photo canvases were so cheap and easy to make I plan on making more and updating these often, therefore I didn’t want the photo to be in there too permanently.
You can stop there…or you can add one more final touch–you know if that was too easy for you!
On one of my canvases, I added a beautiful monogram that I cut out with my silhouette cutter using vinyl.
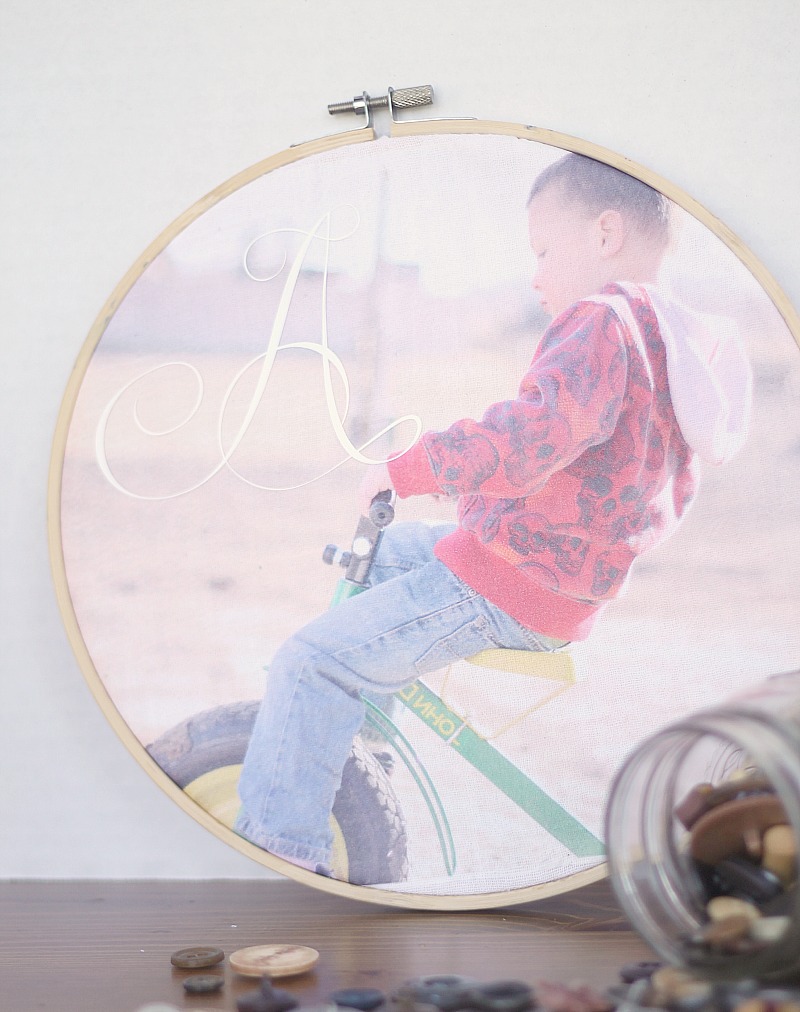
The monogram adds a fancy touch…but I’m not sure I’m totally in love with it.
You see, I set out to create a collage of photos showing the fun and glory of the farm…and I’m not sure a fancy monogram fits.
Oh well–something to dig into in future projects!
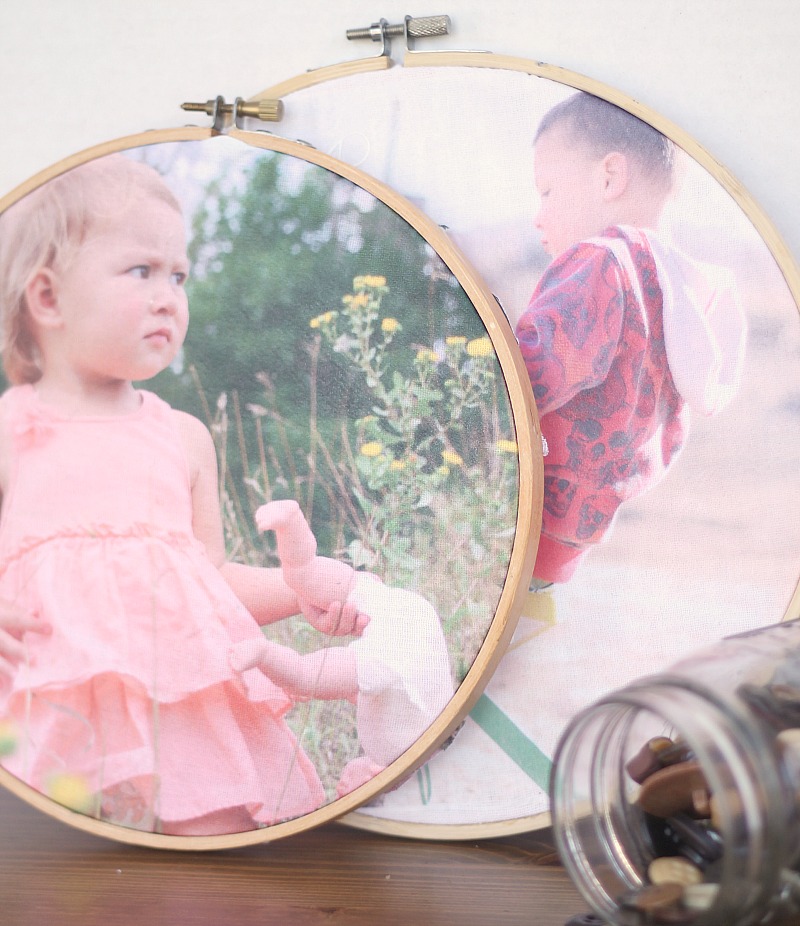
But for now, I’m am pleased to stumble upon an easy, artsy, and fun way to display pictures in my house. And perhaps the easiest DIY photo canvas ever!
I can’t wait to make some more!
All the best–and thank you for being here,

I have used this product also. I made a cute baby onesie with the Scapular on it. It was a baptism gift. I also thought the product was very simple but great impact