Rustic Photo Transfer
December 11, 2014
Hello Friends!
Today I am returning to one of my favorite projects (besides embroidery)—Photo Transfers.
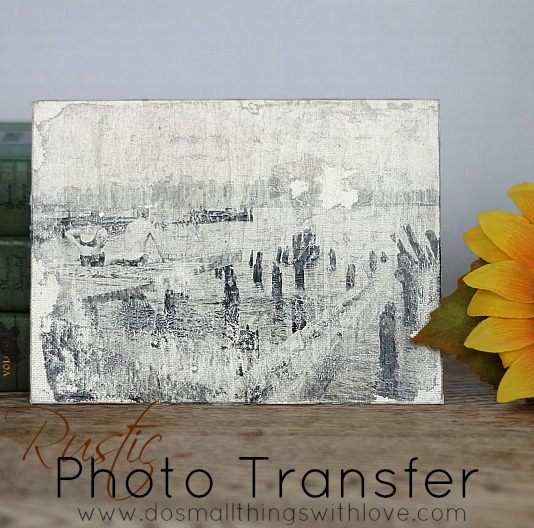
I am excited to share this Rustic Photo Transfer with you.
Are all things rustic wonderful?
I think mostly thanks to my mother’s obsession with photos, I really enjoy working with images and finding creative ways to turn them into art.
Photo Transfers fit this bill well, and I have enjoyed exploring all of the possibilities with photo transfer over my tenure as a crafter.
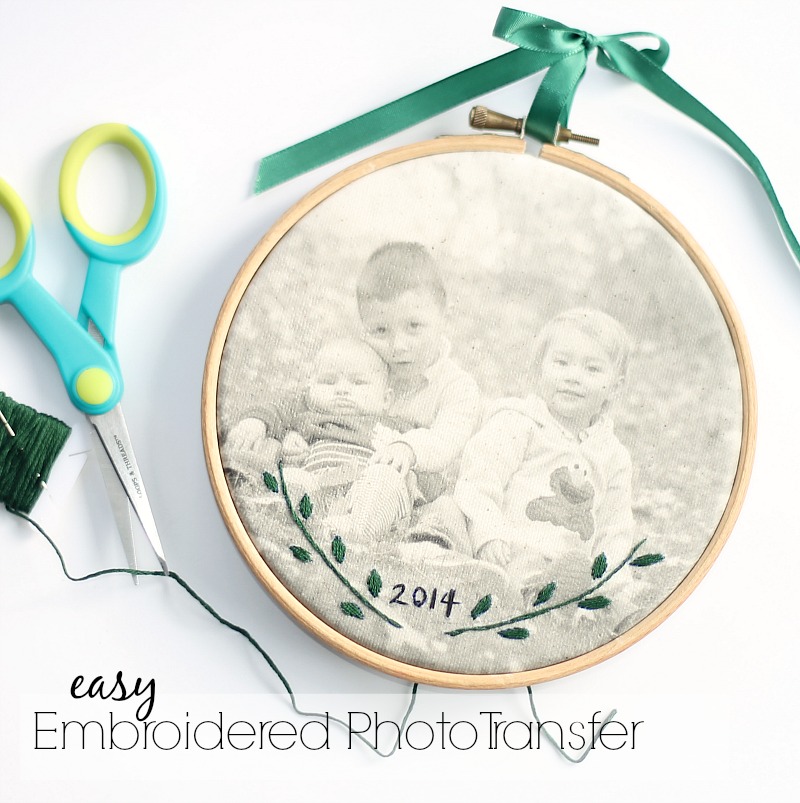
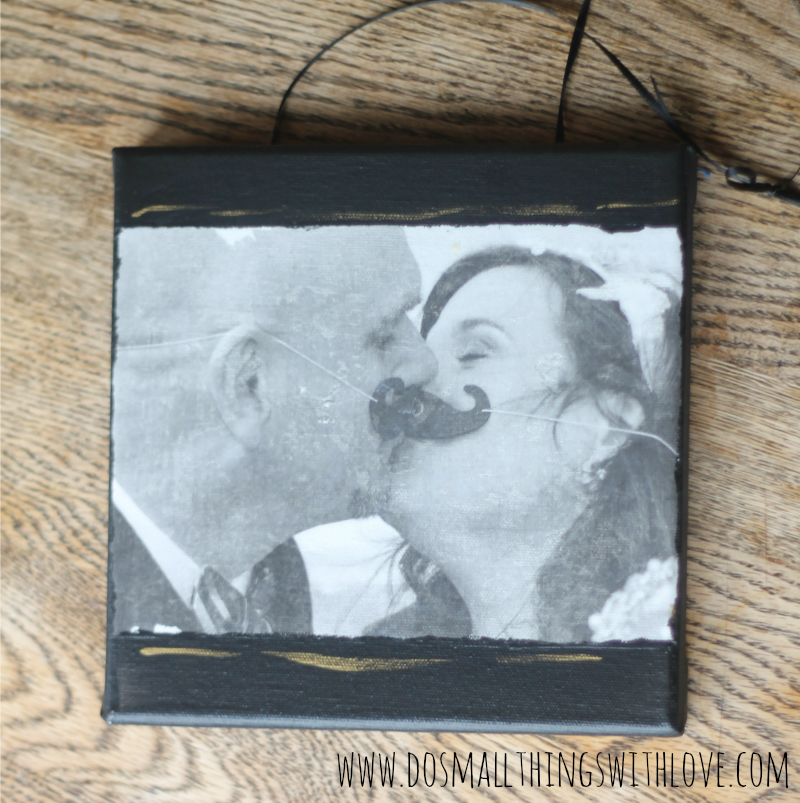
In case you’ve missed it, I’ve already transferred photos onto canvas, fabric, wood, and glass.
I also did a reverse photo transfer with watercolor.
I love all of these projects, and actually have 4 of the projects displayed in my home–the other one I gave as a gift to my parents who have it displayed in their home.
Transferring photos is really fun and if you have yet to give it a try–it’s the time!
If you’re interested in making your own rustic photo transfer here’s what you’ll need:
- White canvas in desired size
- Gold acrylic paint
- Transfer Medium
- Mod Podge
- Image to Transfer (I used a magazine image, but you can use any image as long as it was printed on a LASER printer. Images printed with an ink jet printer will not work).
- Art Brayer
- Paint Brush
- Wet Rag
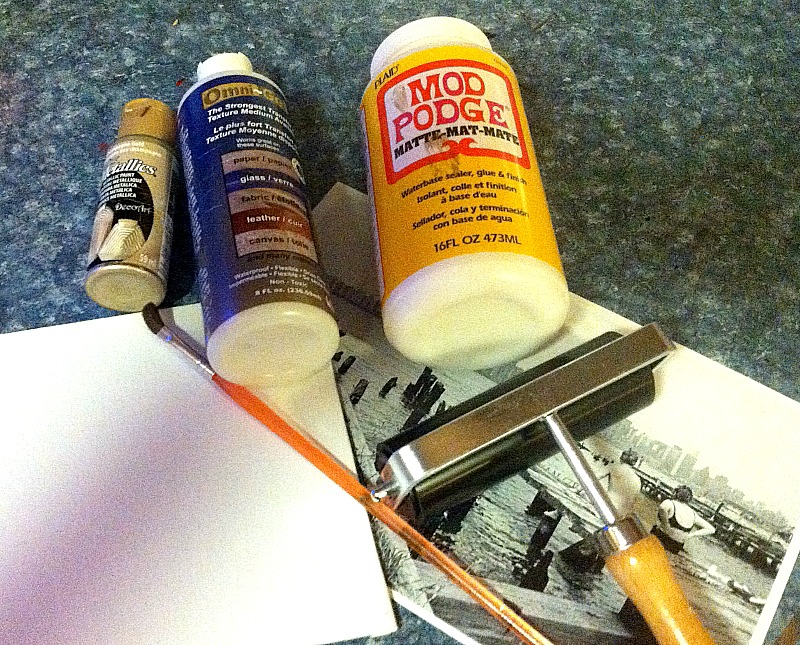
Once you have all of your supplies, it is time to start transferring.
But, before I get into this, I wanted to add a little note.
Transferring a photo is something that takes a little bit of time.
There are several stages of drying involved in the process–and in the end, you will not have a perfect transfer–but that is one of the things that I like.
As I said, this is a RUSTIC transfer.
I like the imperfect look.
But, if you don’t like the imperfect look this is not the craft for you.
Also, I recommend not trying to transfer a picture of a loved one’s face.
For instance, this would be no good to do with this year’s family photo.
Since small parts of the image will not transfer (hence the imperfect nature of this project) chances are a part of someone’s face will be missing…and this will likely ruin your project.
Okay, let’s get to it!
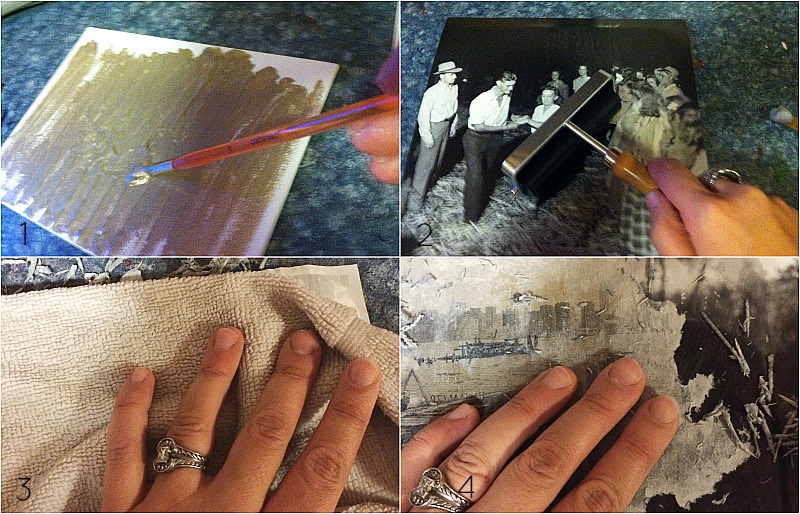
First off, paint on the gold paint with long, vertical strokes. Allow drying.
Next, spread a coat of transfer medium onto both the face of the picture you are transferring as well as onto the canvas.
Make sure to cover every inch and get to the corners.
Then, place the image face down onto the canvas and roll with the art brayer.
Don’t push too hard, but it is important to get all of the air bubbles out.
If you don’t have an art brayer, use the pads of your fingers to massage out all of the art bubbles and globs of the transfer medium.
Allow drying completely–12 hours to be safe.
Place a wet rag over the back of the image you are transferring and allow it to soak through.
Once the paper is soaked, use the pads of your fingers to rub off the paper.
And soak again…and rub again…and soak and scrub…and rub again.
Okay, so this step takes some time and patience.
Once you think you have gotten all of the paper off, allow it to dry and you will probably see some more paper still there.
Soak and rub again.
After you have removed all of the paper you should see your image pretty clearly even when dry.
Coat with Mod Podge to seal.
Done!
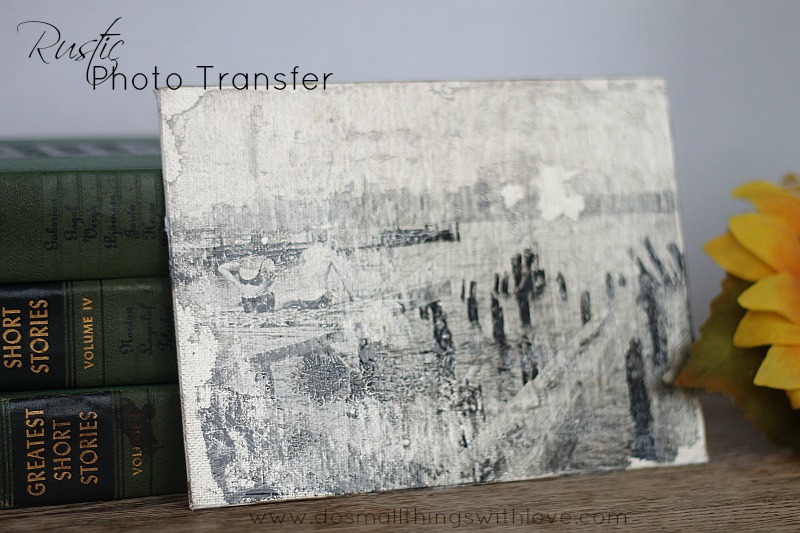
I love my rustic photo transfer–and I love the picture I used.
It’s old-timely and shows a couple sitting at the end of a dock that overlooks a city skyline.
The picture is interesting and the transfer process is fitting and adds even more interest.
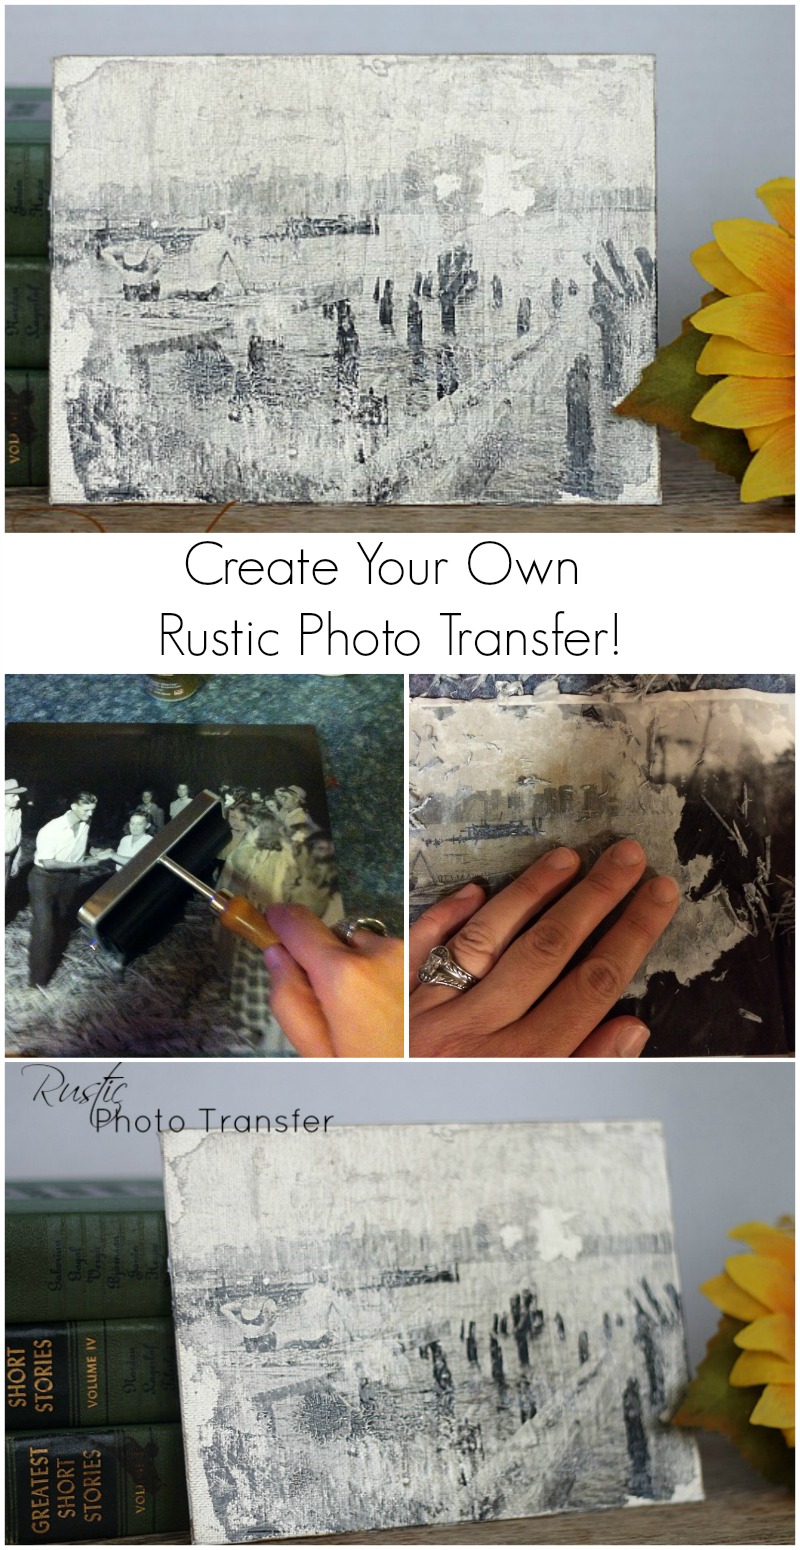
I can’t wait to see what you all decide to do with this technique!
If you give it a try I’d love to see your projects! Shoot me an email or post them to my Facebook page!
And, if you’d like some more photo transfer ideas, check out these projects:
All the best,

I love the way this turned out! I’m curious, have you tried this using a color photo? Do you think the gold paint would work well for either a black & white photo or color photo?
I have tried it and the color ink smears, unfortunately…
It looks great and not so difficult as I tought would be, I will try it soon I guess. Thanks for sharing it!
wonderful! Let me know if you have any questions!