Simple Felt iPhone Case (FREE TEMPLATE)
February 24, 2014
Hello, hello! Today I am excited to share a Simple Felt iPhone Case with you, as well as a free template for this project.
It’s easy and I think they turned out really cute!
I love a lot of things, but when it comes to THINGS (you know, stuff, not the really important things in life) I really really like FELT, as I have demonstrated here many times, and my iPhone.
My husband had an iPhone long before I did, and during that time I really didn’t see the point.
Did I really need the internet and email with me all the time?
The simple answer is no, I did not need those things with me all the time… But do I like having those things with me all the time…
Well, yes, I do, I really really do!
And so, I strive to take good care of my beloved phone.
This simple felt iPhone case is exactly that, simple.
The supplies are cheap and even though this project does call for hand-stitching, chances are this project will take you less than 15 minutes.
So, what are we waiting for, let’s get crafting!
Supplies:
- Template
- Felt (basic color for body of the case, as well as a contrasting color to fill the cut-out)
- Lace or tulle scrap
- Embroidery Thread
- Straight Pins
- Needle and Scissors

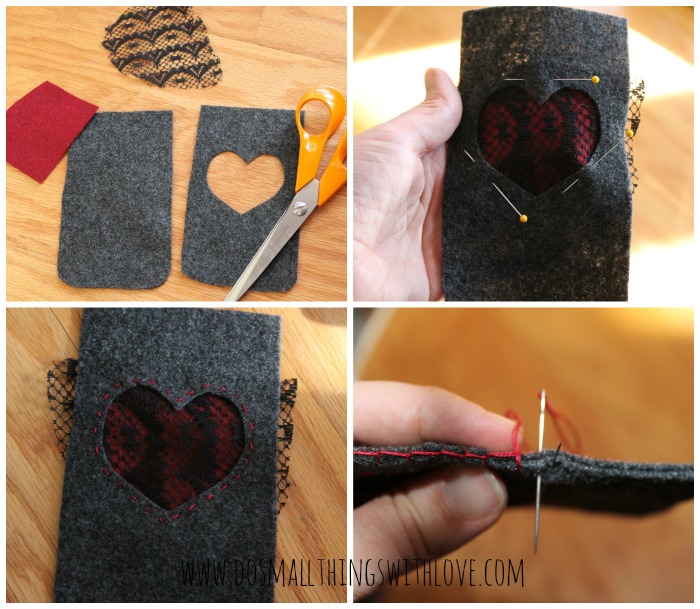
- Before starting this project, download and print the FREE TEMPLATE I have provided. It is a PDF and should print easily from your home computer. Then, use this template to cut out two body pieces for your case. Then, take one of the body pieces and cut out a “cut-out” shape, centered in the top 2/3’s of the piece. I have supplied a heart, 5 pointed star and 7 pointed star in the template. Then, find a scrap of felt in a contrasting color and a scrap of lace or tulle that is big enough to completely fill, with a little extra, the cut-out you have created.
- Use straight pins to pin in place the felt and lace behind the cut out.
- Sew the felt and lace in place with a running stitch. The running stitch is the most basic stitch. Simply bring your needle through the fabric and stitch down 1/8 of an inch ahead. Then, bring your needle up again, another 1/8 of an inch down the path, and then down 1/8 of an inch ahead. Very simple. After you have sewn all the way around the cut-out, trim the excess felt and lace.
- The final step in sewing the front and back pieces of this iphone case together. Place the two pieces together, right sides out and secure with straight pins. Then, sew around the outside, excluding the top, with a blanket stitch. This stitch is a little bit more complicated, so the best way to learn it is to watch a video. Here is a great one.

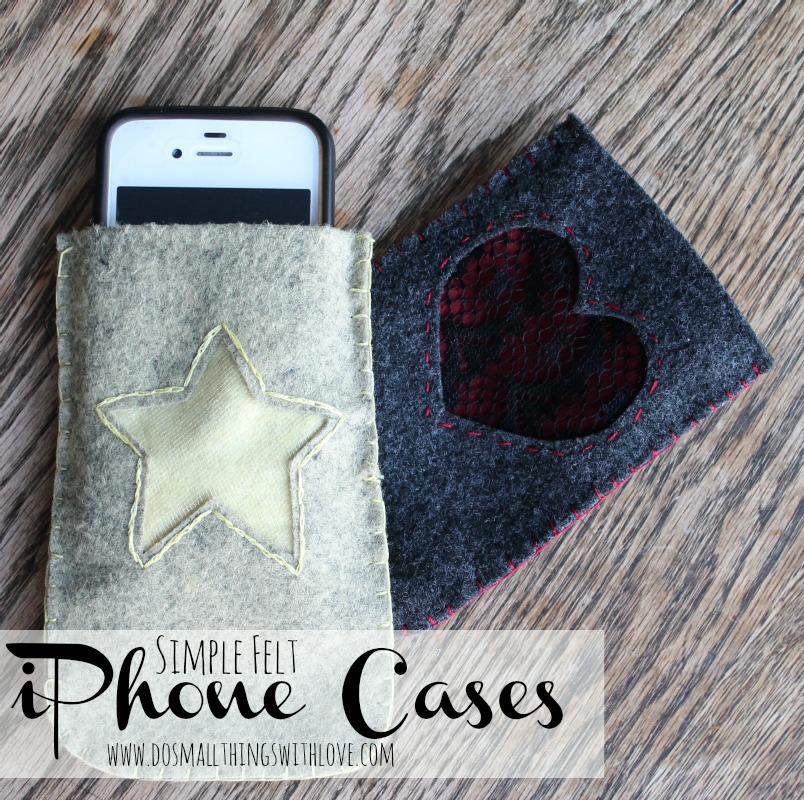
Annnnnd, done!

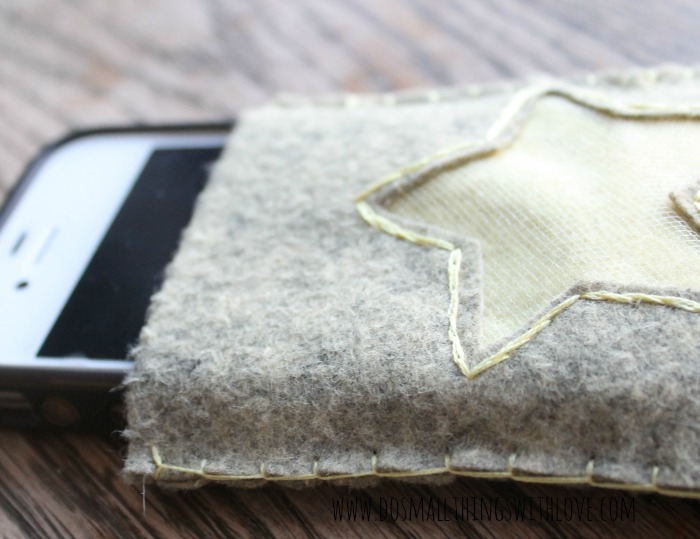
Because the kids were still napping, and I felt like stitching I made two cases. The second has a cut-out of a star and instead of using a running stitch around it, I used a split stitch. But, I think I like how the running stitch looks better. Thoughts?
Thanks for being here…and tell me, do you love your phone as much as I love mine?


It is a great blog post about the iPhone template. I like it. Thanks for sharing this information with us.
Nancy, I love this cell phone case! So fun and you could make this while watching TV! 😀