Layered Embroidery Name
August 26, 2013
Hello, hello! I’m back with (another) embroidery project.
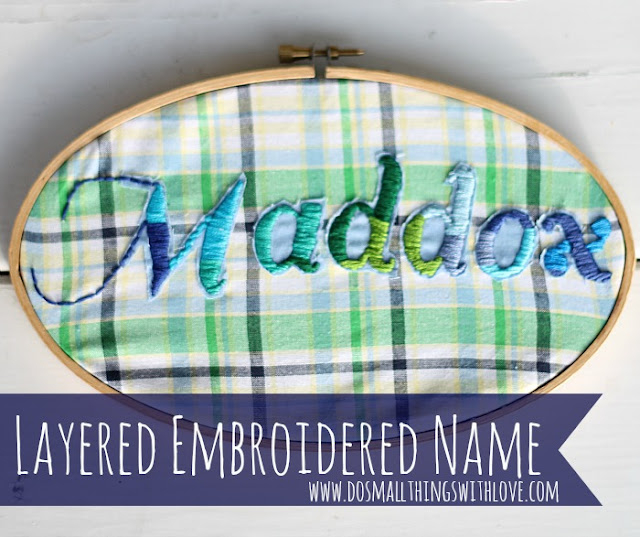
This one uses statin stitch to make a memorable hand-stitched wall hanging.
I originally shared this over at One Artsy Mama, but am excited to share it here.
I made this for my newest nephew.
There are just three basic steps: Trace, Stitch, Trim.
Supplies:
- Fabric for background (mine are patterned and single color)
- Magic Marker
- Embroidery Thread, Needle
- Embroidery Hoop
First of all, get your fabric together.
The cool part about this project is the layered element: the top fabric is trimmed away after you stitch, leaving just a slight outline.
S cut two rectangles of fabric and then move on to the first step: trace.
Based on the size of your embroidery hoop, layout your words in a document on your computer.
Then, tape your fabric on top of your screen and trace.
As you can see, I have two pieces of fabric taped to my screen.

Next, stitch.
This is the most time-consuming step, but it only took me the car ride from Pittsburgh to Harrison VA to complete it (while trying to keep two kids happy).
I used a satin stitch for this project.
A satin stitch is a long stitch that fills an entire area.
The stitch is really simple.
You simply come up at one side, and down on the other.
You can use satin stitch in various ways (see here, here, and here) but for this project, I used all horizontal lines, used 6 threads at once, and just changed colors when I was done with a thread–allowing it to be on more than one letter.

And finally, trim: Once all the letters are embroidered, take scissors and carefully trim away all the fabric from that top layer that you can.
See below.

And…there you have it!
I love coming up with embroidery projects because with this simple idea the possibilities are ENDLESS.

Thanks for being here,


Love this!