Miraculous Medal Cross Stitch Pattern
November 8, 2016
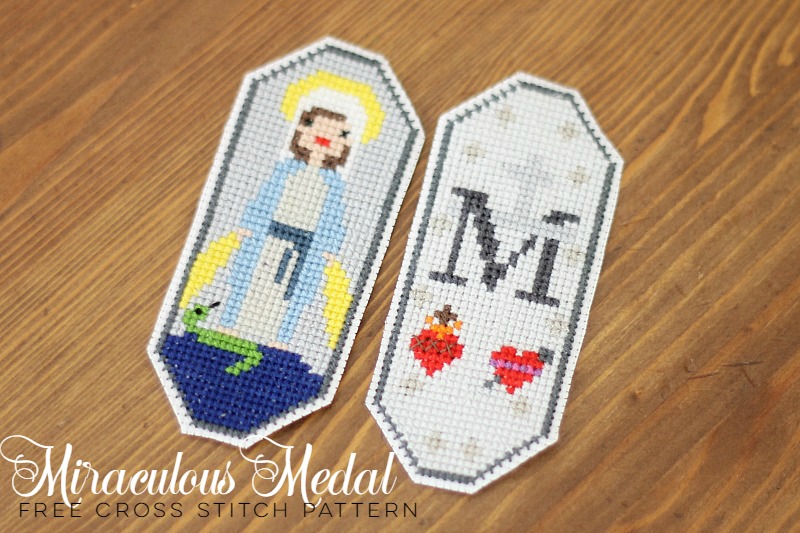
The Catholic faith is awesome, isn’t it?
There is just so much to continue to discover, and just when some small part of the faith and Catholic history is starting to feel common, there is something else to learn and marvel at.
Sometime last year I read this and became dedicated to wearing my miraculous medal every single day.
And, except when Bernadette dropped my necklace down a vent, I have done so.
I love everything about the miraculous medal-it’s origin, the lore, the imagery.
I’ve got all of my miraculous medal necklaces on Etsy, including this one. I gave away the planner a few weeks ago. And I am thrilled with each one of them.
But you know me.
It is only a matter of time before I start seeing something in cross-stitch.
It’s an illness, I think.
So, a few months ago I put together a pattern and spent a few road trips stitching.
My husband doubted me, but after I was done stitching I transformed my cross stitch project into a real pendant.
Seriously, I now wear a CROSS STITCHED miraculous medal pendant. (can I still call it a medal if there’s no medal involved? Is there another term?). Regardless, I love it.
It’s such a fun project that I want to share it with you. And offer you the pattern for free, front and back, ready to be printed.
It’s been a while since I did a crafty tutorial, so sit back and enjoy.
This one calls for actual craft supplies, which I was happy to dust off, pull out and use.
You can find the materials for this project, and MANY other Catholic projects in the Catholic Family Digital Resource Library. To get instant access, and join a thriving community of over 10,000 Catholic Parents, just enter your email address.
Supplies:
- 18 ct Aida Cloth
- DMC thread (colors needed listed on pattern)
- embroidery hoop for stitching
- Mod Podge Dimensional Magic
- 1 jump ring (jewelry supply)
- 2 pairs of jewelry pliers
- 1 necklace chain
First off, print out the pattern and get stitching.
It might look small, but this pendant calls for a lot of stitching. I stitched mine on an 18 count Aida cloth because if I had used 14 counts like I usually do, it would have been huge.
And remember, when stitching religious images, like this one, it is a wonderful thing to make your crafting a prayer.
Mediate on Our Lady, her Yes, her Son. Do this and your finished project will mean so much more.
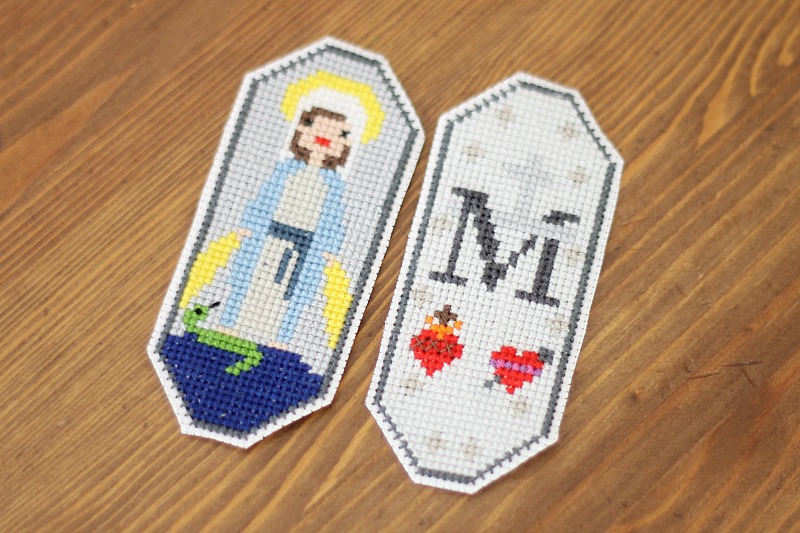
Once the stitching is done, carefully cut out the front and back of the pendant, leaving one empty stitch along all sides.
Next, using a small amount of dimensional magic, glue the front and back of the pendant together.
Then, using the jewelry pliers, add a jump ring to the top.
To make sure it stays in the pendant, loop it under the top center stitch.
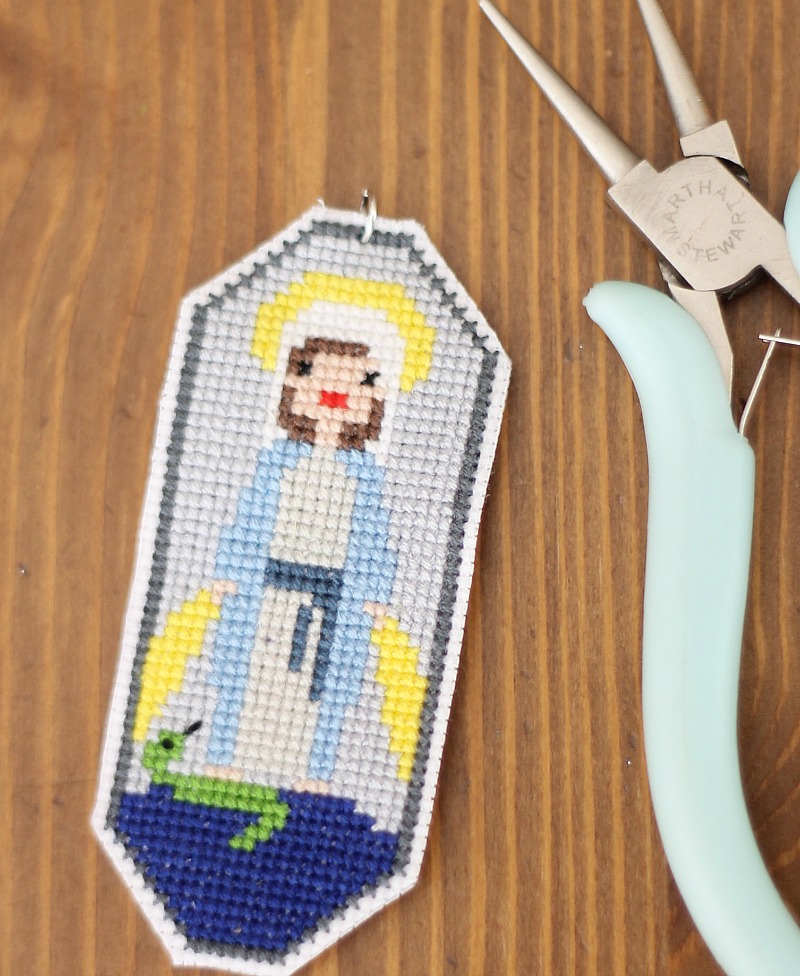
And now is when things get a little messy.
The dimensional magic is a clear, shiny material that will dry hard and will completely encase the pendant by the time we are done.
The dimensional magic will also give the pendant weight, so it feels like a real pendant. But, it will take several coats to get there, and it’s a little tricky since we will be adding dimensional magic to both sides.
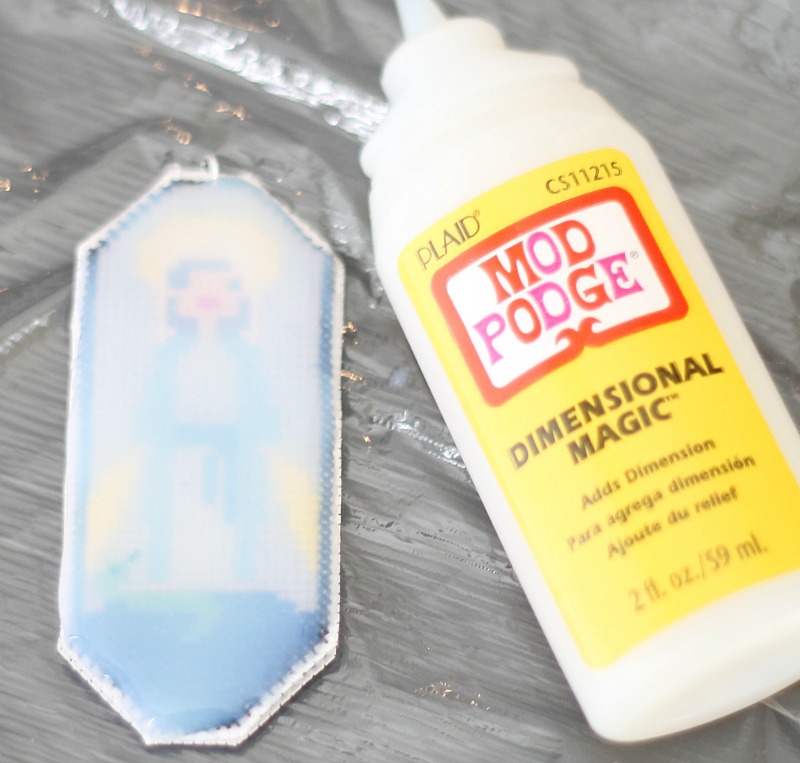
Carefully spread the dimensional magic over the top of the pendant. Don’t add too much as it will run off the sides and leave you with a big mess.
Also, make sure there aren’t any bubbles in the Dimensional Magic. Allow it to dry.
Then flip the pendant over and apply dimensional magic to the backside. Allow to dry and return to the front, repeating this until you have a nice, thick, smooth coat on each side.
Finally, apply a thin layer of dimensional magic around the edge of the pendant to make the edge is smooth as well.
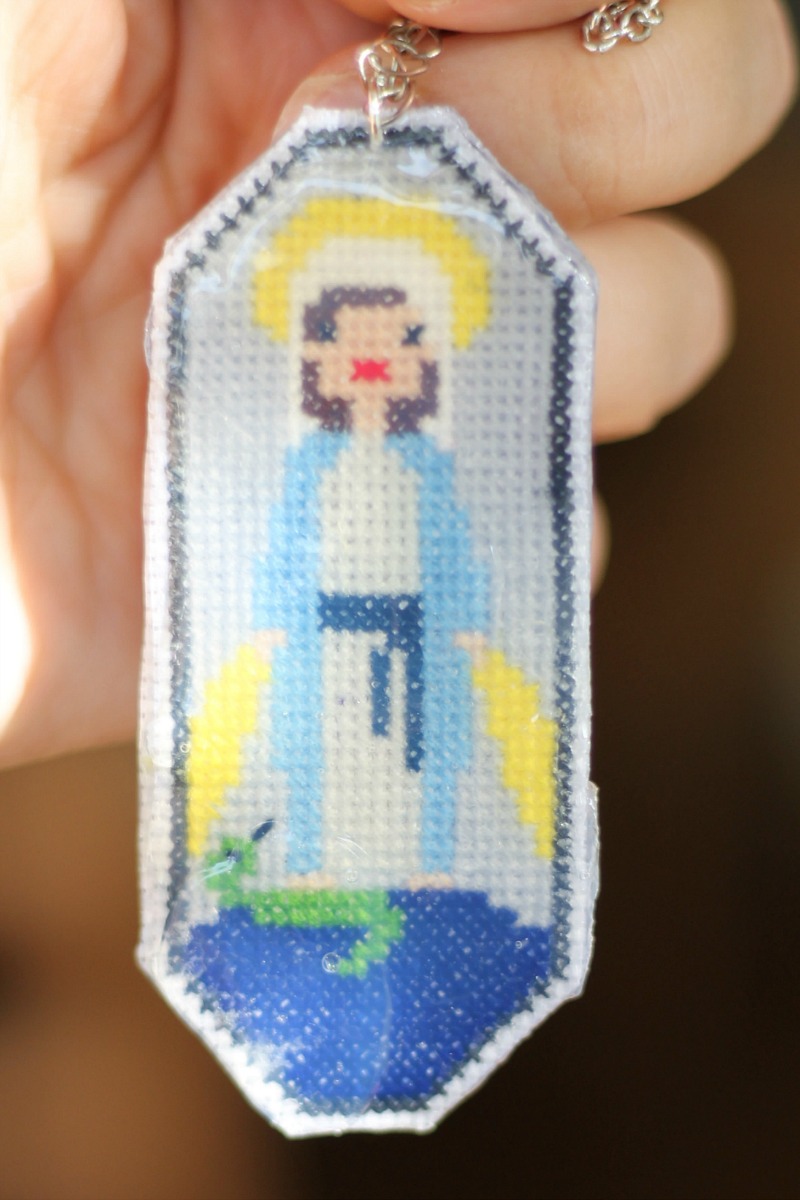
And there you have it. Even Catholic jewelry can be cross-stitched.
I hope you enjoy this pattern.
Once again, you can find the materials for this project, and MANY other Catholic projects in the Catholic Family Digital Resource Library. To get instant access, and join a thriving community of over 10,000 Catholic Parents, just enter your email address.
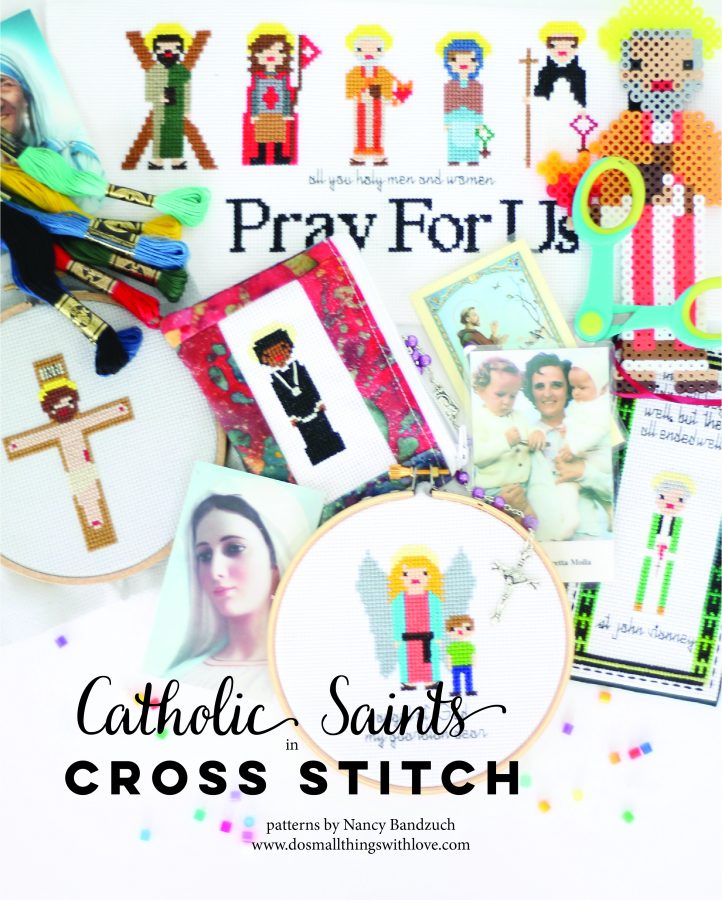
The book is full color so that the patterns can be used for cross stitch AND Perler bead creations.
More on this really soon. For now, just enjoy the Miraculous Medal pattern.
Your sister in Christ,
Nancy
Hi sorry to bother you but I can’t seem to locate the pattern itself and I’ve even sent in my email. I would love to make this for my mom who loves the miraculous medal.
Do you not understand the difference between “metal” and “medal”?
This is great! My baby is always grabbing my medal to bite, and I’m afraid he’s going to hurt his new teeth. I’ve been looking for a pattern to make a cloth version for a while. I’m going to knit one using your chart.
Knit one? How cool. I have no idea how you would do that–but I would LOVE to see a picture of the finished project!!!