Satin Stitch Christmas Tree Pillow
December 11, 2013
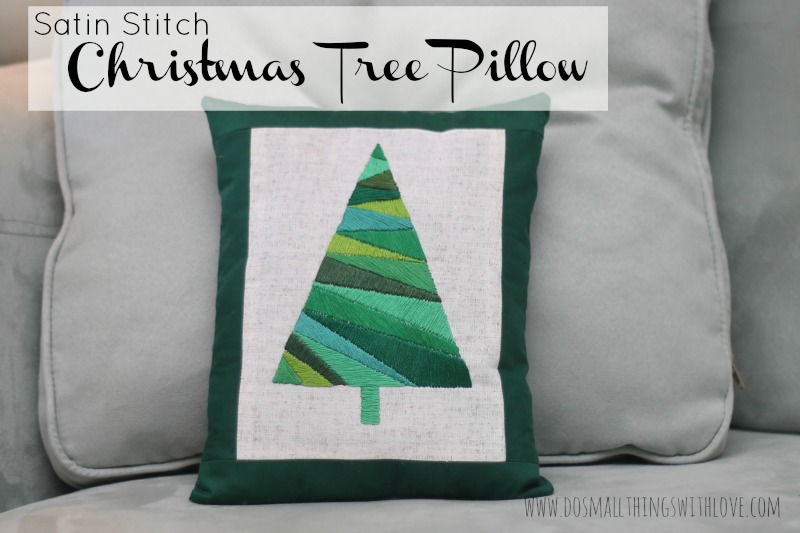
Hello! Once again, I have been stitching and I am excited to be sharing my Satin Stitch Christmas tree pillow with you.
I am really happy with how it turned out, and although it takes a little time to complete, it is actually a very simple project, without a terrible about of skill needed.
Really!
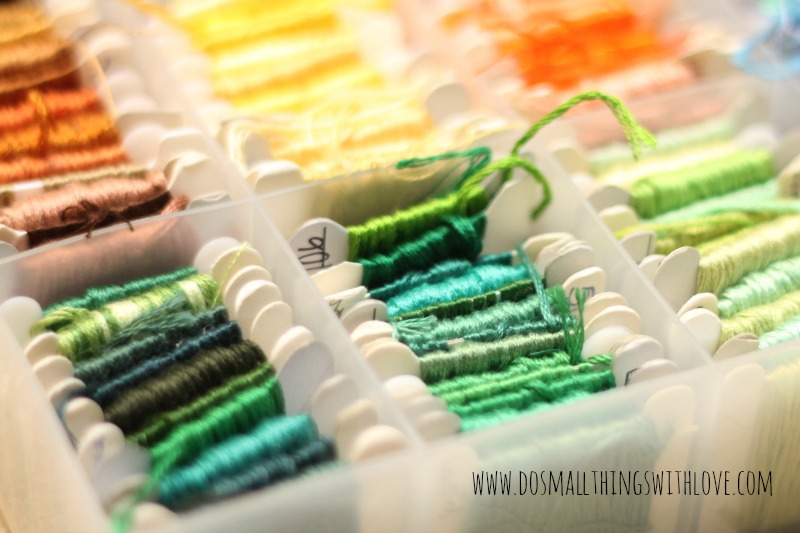
All you need is some time and a big stash of green thread!
And so, grab your needles, and let’s get stitching.
Here is how to make your own Satin Stitch Christmas Tree Pillow
Supplies:
- Embroidery Hoop
- Neutral, Non-Stretch Fabric
- Green Embroidery Floss (lots of shades)
- Iron-on Interfacing
- Water Soluble Marker
- Ruler
- Green Cotton Fabric
- Batting
- Sewing Machine
The beautiful part about embroidery is that, for the most part, it is fairly simple.
Yes, it can take some time, but this project, and many embroidery projects I feature on my blog, are beginner-friendly.
Really, as is this project.
Here are the steps to make your own satin stitch Christmas Tree pillow.
- Prep Your Fabric: Take your non-stretch neutral fabric and iron on some interfacing to the back. This will give it some strength as you stitch.
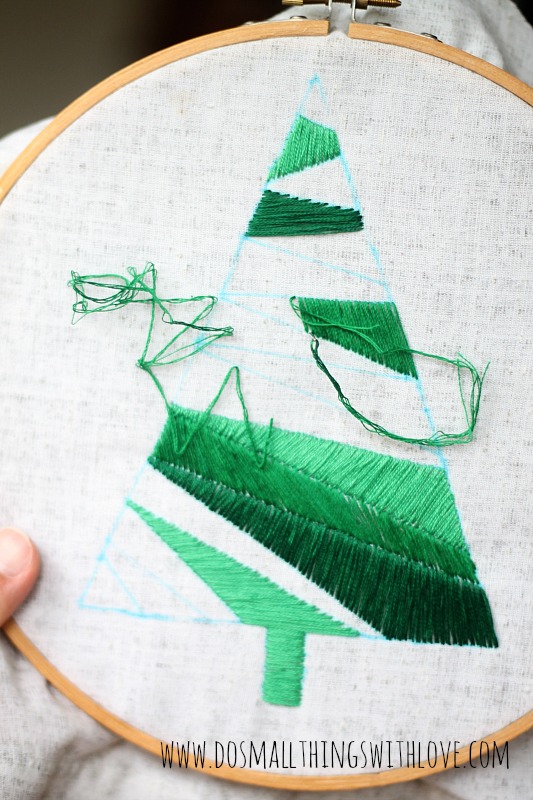
- Draw Your Outline: Then, pull out your ruler and water soluble marker. Draw the outline of your tree onto the fabric. I wanted the subtle changes in the shades of green to be the real hero in this piece, so I went with a simple triangle shape. Make sure to measure when doing this step, so your tree is exactly symmetrical. Then, once again using the ruler, draw lines throughout the tree to mark off the different sections.
- Stitch…and Keep Stitching: Place the fabric in an embroidery hoop and get stitching. For this entire project, I used a Satin Stitch. Satin Stitch is just a fancy way to say a stitch that fills in an entire area. As you can see in the completed project, the Satin Stitch is a series of parallel long stitches that stretch across an entire given area. The needle comes up on one edge and goes down the far end. And repeat…and repeat..and repeat… I like to use three threads at a time when I use the satin stitch. As I went I used a variety of shades of green and worked to make sure my stitches in each section were going in different directions. Satin stitch is the only stitched used in this project, so once the entire tree is filled, you are done!
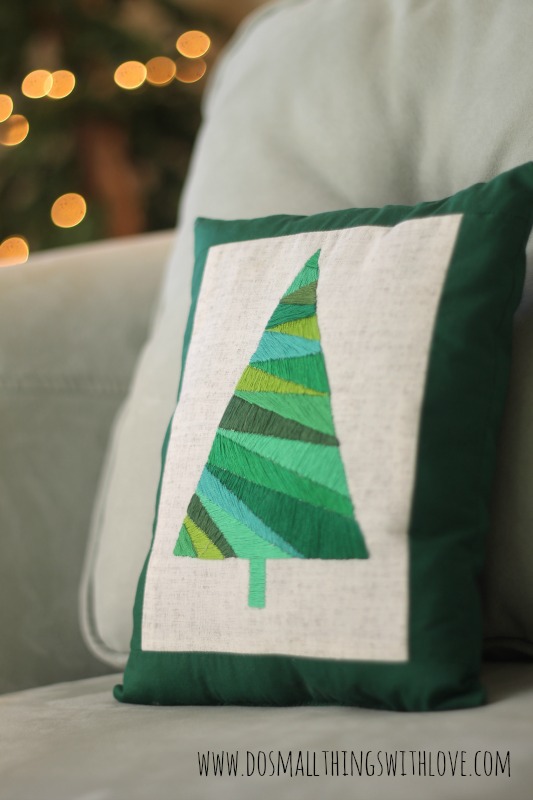
- Make the Pillow (optional): I made my Satin Stitch Christmas Tree into a pillow by simply framing it with fabric, sewing on a back and stuffing it, but the display options are much broader than this. Often times I just leave my embroidery creations in the hoop I stitched them in and display them. It’s totally up to you!
So, it is true, embroidery projects, like this one, take time, but they are not overly complicated.
If you have yet to ever attempt a project like this, I really encourage you to!
Get your needle and thread out, turn on a movie, put your feet up and get stitching.
That happens to be my favorite way to relax!
Thanks again to Desiree for allowing me to share with you today! I’d love to connect with you on social media: Facebook, Twitter, Pinterest, Instagram, Google+.
And, I’d love for you to stop by my blog and check out a few of my favorite projects:
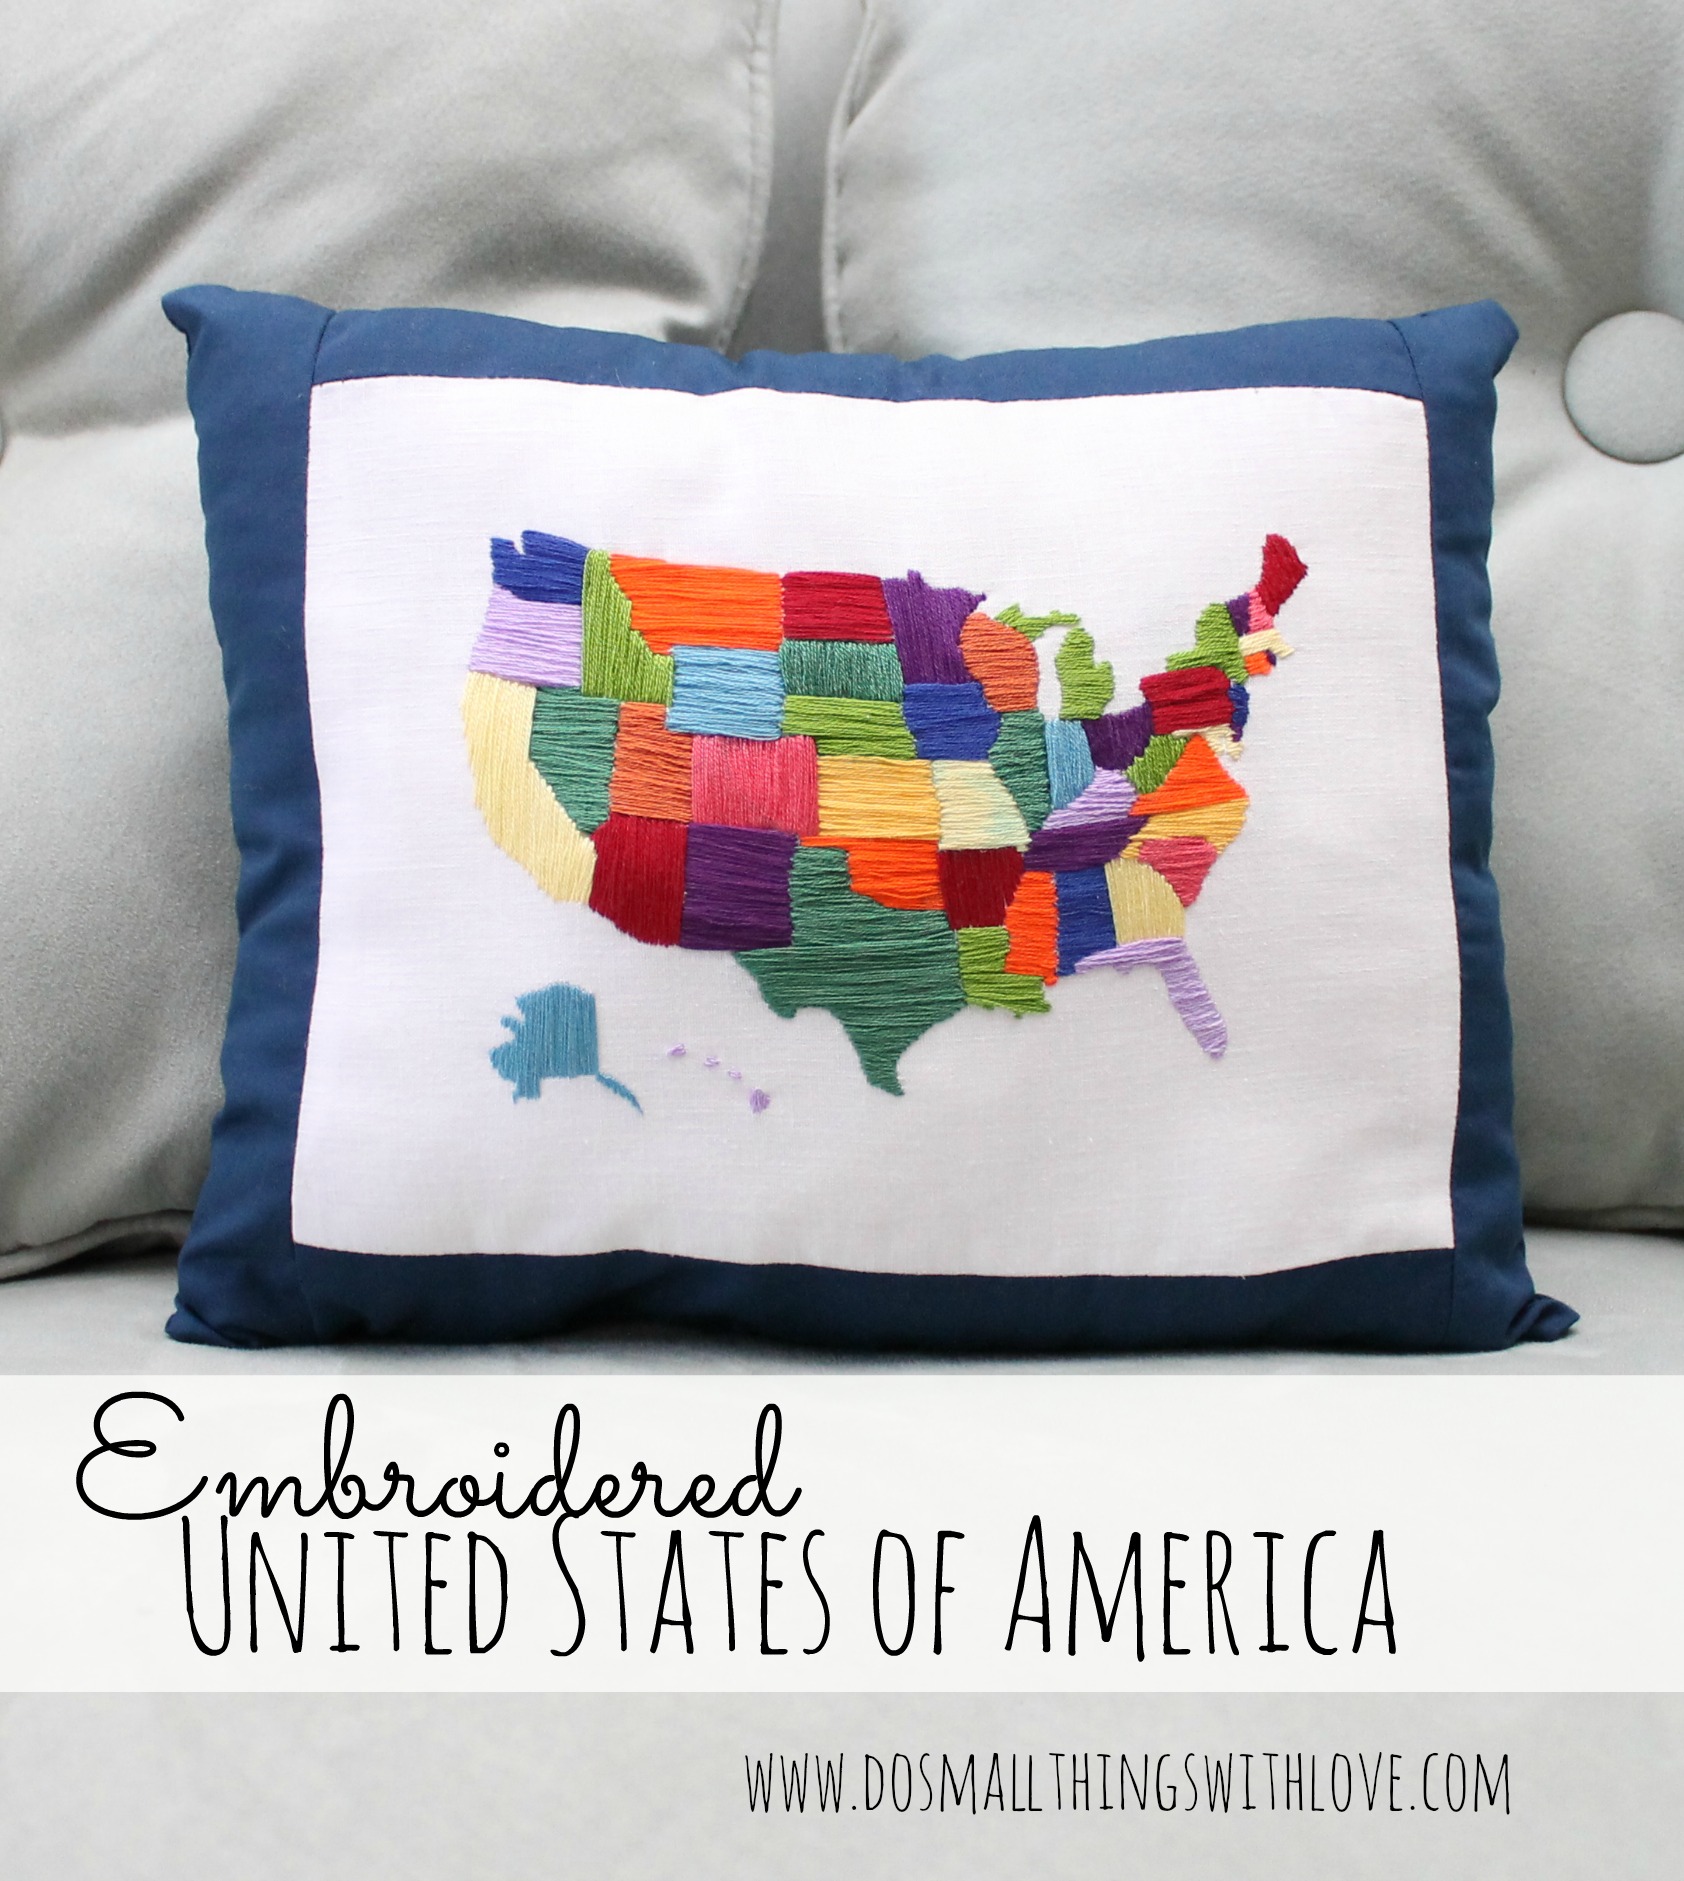
Embroidered United States of America
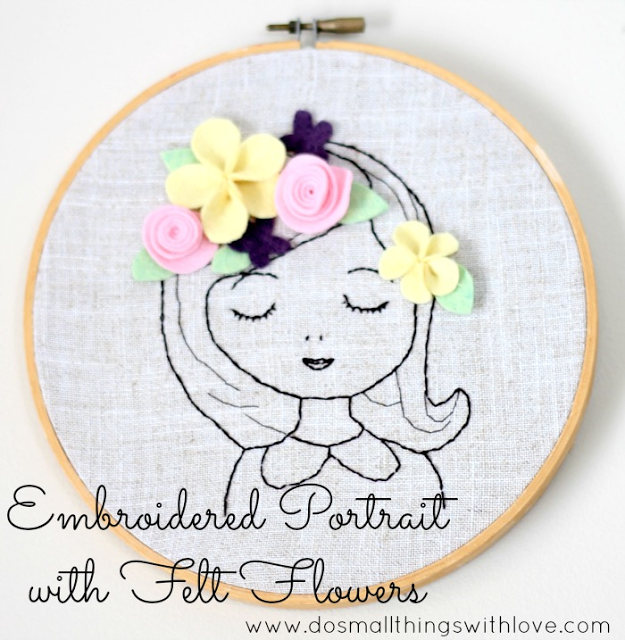
Embroidered Portrait with Felt Flowers
Thanks again,

This looks like a quilted tree….but embroidered! Clever! Well done!
this is lovely! Thanks for sharing.
[…] holiday photo booth -henry happened Christmas crackers -squirrely minds satin stitch-embroidered Christmas tree pillow -do small things with love tiny origami santa -how about orange diy star tea light […]