How To Use My Felt Patterns
Hello friends! Today I am finally writing a post I should have written a long long long time away–How to Use my Felt Patterns.
I am constantly adding patterns to my PATTERN SHOPPE.
And I wanted to show you that ANYONE can make one of these patterns.
ANYONE!
The reason it took me so long to write this post is that there really isn’t anything difficult about using the felt patterns I create–really.
I strive to make patterns that are cute and fun, but simple.
In the end, my patterns come down to 2 very simple things–cutting and stitching.
Granted often there is some finishing work associated with each project (stuffing, binding…) that is a tiny bit more complicated, but not much.
I try to be very clear and very detailed with those instructions in the actual pattern (offering words and images to help you).
But for now, and for this post, I just wanted to clearly explain the basics of using my patterns and to show you that ANYONE.
Yes ANYONE can successfully accomplish any of these felt patterns!
Even if this will be the very first time you have held a needle in your hand!
Supplies
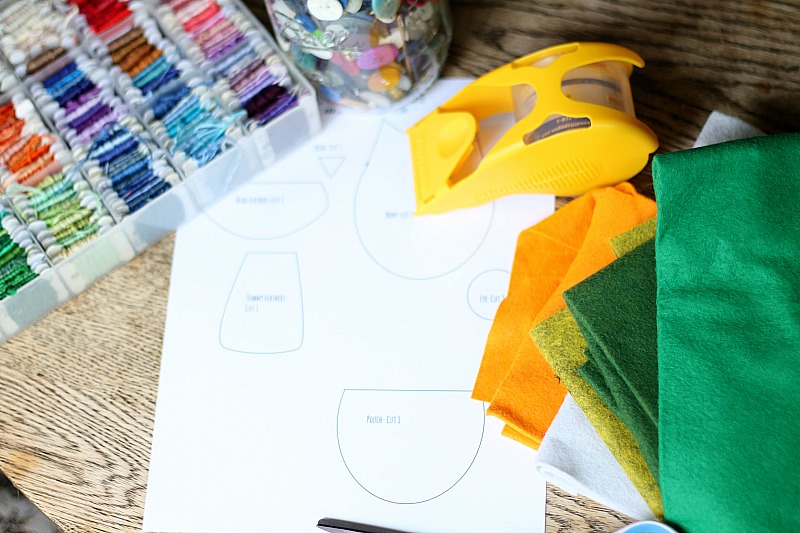
First a quick word about the supplies you will generally need for my felt patterns.
- Template–each of my templates are already to-scale so simply print them out on ordinary computer paper.
- Felt–I use a wool blend felt. The felt you buy at the craft store is acrylic felt, meaning it is made from plastic, so it will melt if you iron it and I have found that it isn’t as soft. Also, it’s doesn’t seem to last as long. It often times starts to look worn quickly. On the other hand, 100% wool felt is expensive. A wool blend, especially the stuff I get from BenzieDesign, comes in beautiful colors, is soft and holds up well–and it’s good price!
- Embroidery Thread in matching (or contrasting) colors—Often times my patterns call for a wide variety of colors of felt and thread. I use DMC thread, which can be found at any craft store (even Walmart). If you like to work with felt, start collecting thread. I still have thread I used as a girl for 4-H projects!
- Clear Tape–This is used in the cutting process.
- Sharp Scissors
- Fabri-Tac, or another permanent fabric glue–used in several of my patterns and always an option if you’d prefer not to hand stitch.
Cutting
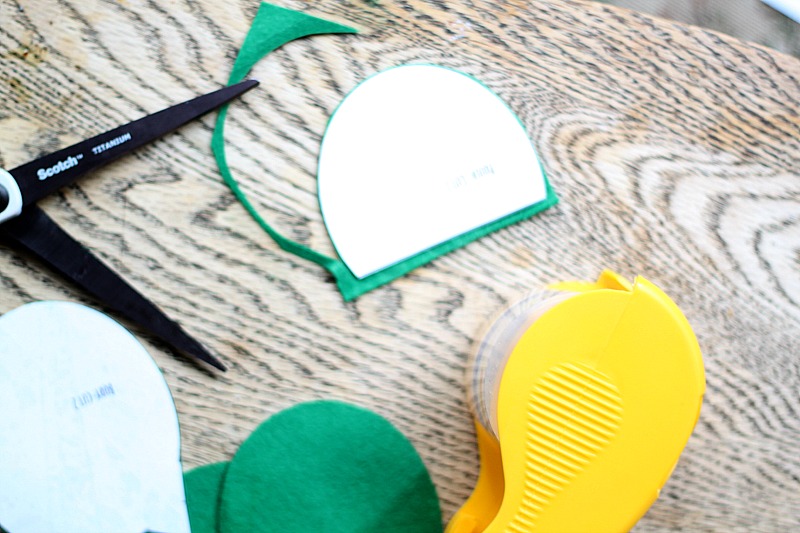
As a first step, cut your printed templates out.
The best way (in my opinion) to get an accurate cut while working with felt is to tape the pattern directly to the felt you are cutting.
After you have cut out the paper template cut a piece of felt that is slightly larger than the template.
Using clear tape, tape the template directly onto the felt and cut around it with sharp scissors.
Using this method you can even cut out very detailed shapes like working.
Just use lots of tapes, make sure your scissors are quite sharp and take your time!
Lay It Out
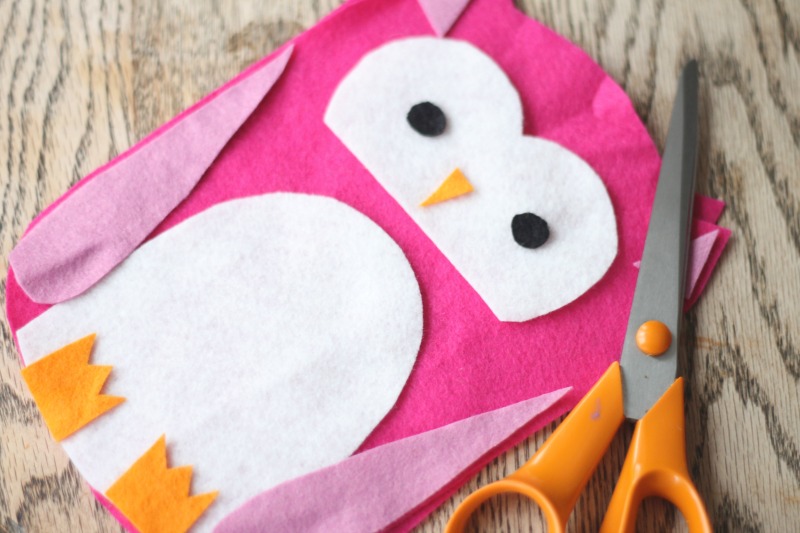
Once all of your pieces are cut it is important to visualize how the whole project will come together. Especially if several of the felt pieces are overlapping.
So, before you begin to stitch, lay out all of the pieces you just cut.
You will be working from the bottom up. So remove the top pieces and begin but stitching down the bottom pieces first.
Stitching
I generally call for just a few very basic stitches in my patterns.
1. Running Stitch
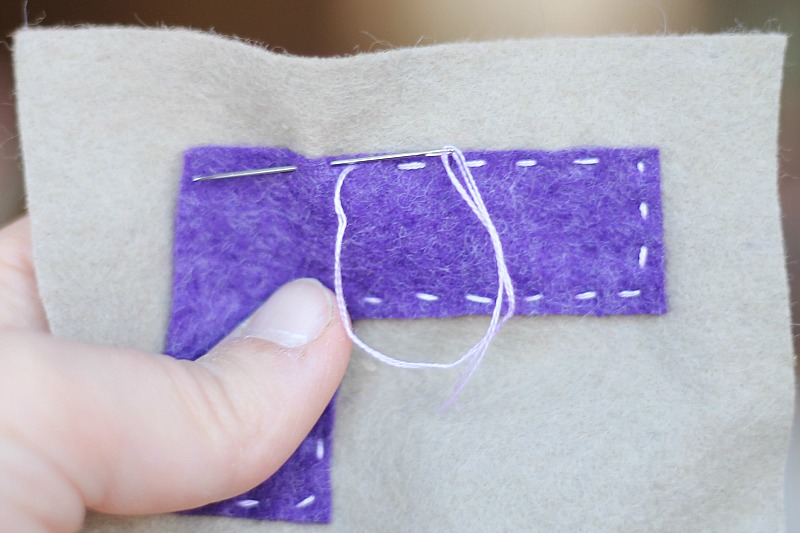
More often than not my patterns call for the top felt pieces to be sewn down (or appliqued) with a basic running stitch.
Now, there is nothing more basic in the world of stitching than a running stitch!
A running stitch is a straight stitch that is as long as the space between each stitch.
I like to save time by stitching as I have pictured above.
This way my hand never has to go to the back of the fabric.
2. Blanket Stitch
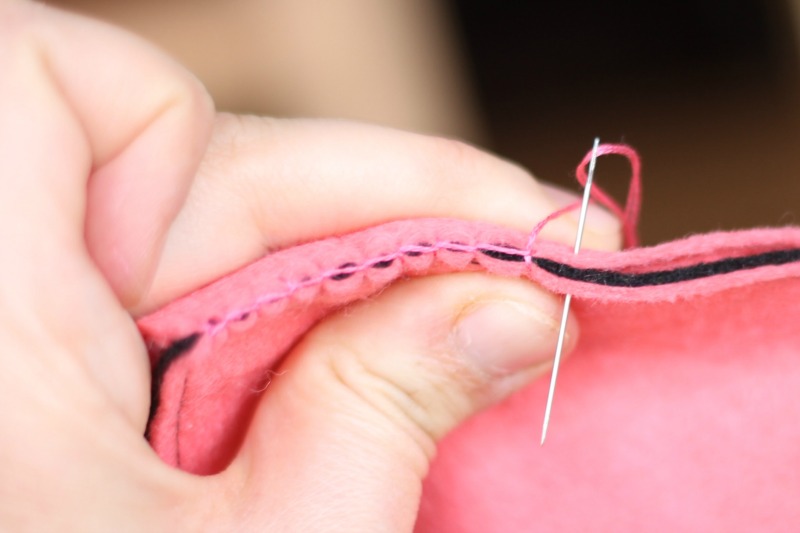
I love the blanket stitch so often my patterns require a blanket stitch around the outside of the project.
Blanket stitch is also very simple but requires a little getting used to.
I did a whole post and video on this stitch. Check it out HERE.
And, if you are in a time crunch you can just glue down the felt pieces as opposed to stitching them down.
Maybe I’m biased (I am definitely biased) but I feel like stitching is better, especially if you are making a special keepsake for someone you love.
As I said there are often a few more steps after these in my patterns–steps that allow you to transform your project into an ornament/doll/book/etc.
You will have to refer to the specific pattern for those details.
But, really, ANYONE can accomplish these patterns!
The thing you might need the most of is time.
My patterns do require time, but don’t all good things in life take a little time?
On this same note, Monday I will be launch a big pattern–something I am so excited about…and here is a sneak peek!
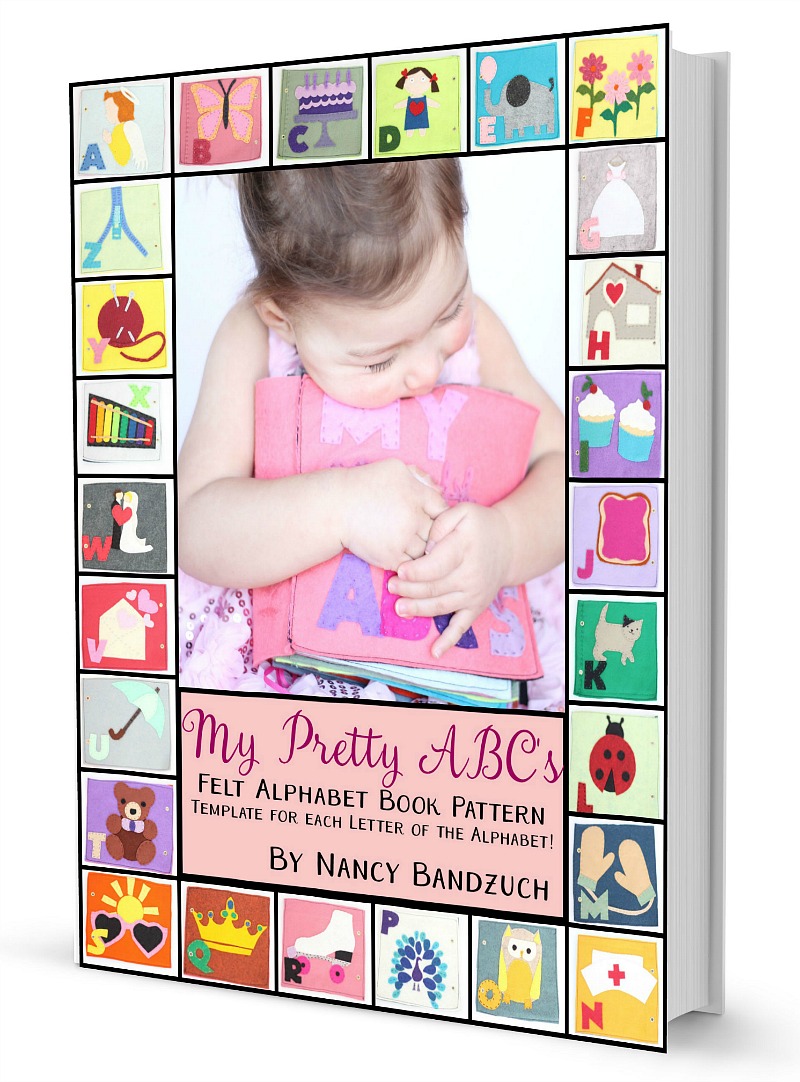
My Pretty ABCs is a felt alphabet book pattern for the pretty little girl in your life.
My pretty little Bernadette loves her book–and I can’t wait to share the pattern with you!
Now that you see just how easy following a felt pattern can be, I hope you consider buying this pattern and making it for the special little girl in your life!
Thanks–and check back on Monday for the big pattern launch!

Nancy, I bought your little girl alpha book last night and I have a few questions. First of all although your pages say $5 until March 15th, I paid $7.50. How many strands of embroidery floss do you use. I haven’t been able to find any full size pictures of your finished pages for reference. The pics on the cover are too small to distinguish what stitch you used or even color. I’m so frustrated. The pattern itself is great although as a children’s librarian, you should know that reading specialists always advise beginning w lower case not upper case letters since they are viewed a minimum of 20 to 1 times. Anyway I sure would love to make something as beautiful as your creations but I need a little more guidance such as bigger pics! Thanks for the color info pages though. Best to you and your lovely children, Colleen
I’m sorry for your frustration. A few answers:
1. I used 2 pieces of embroidery floss for all of the stitching throughout the book. I mostly used a matching color of floss to the felt I was stitching on. All of the pieces of felt are stitched down to the page with a running stitch. The running stitch is SUPER simple, but here is a tutorial if you need it: https://www.youtube.com/watch?v=W4nhj8kMpAI.
I will work on putting together a doc with bigger pictures.
All the best,
Nancy
[…] it's basically just a lot of cutting and stitching, and simple stitching at that! Check out THIS POST for a full run down of how easy putting this book together actually is. Now, I said easy, not […]
You are so wonderful. Love your blog.
Oh my. Thank you so much. What a gift to wake up to this comment!
I love these! What a fun project!!