Embroidered United States of America
Hi friends!
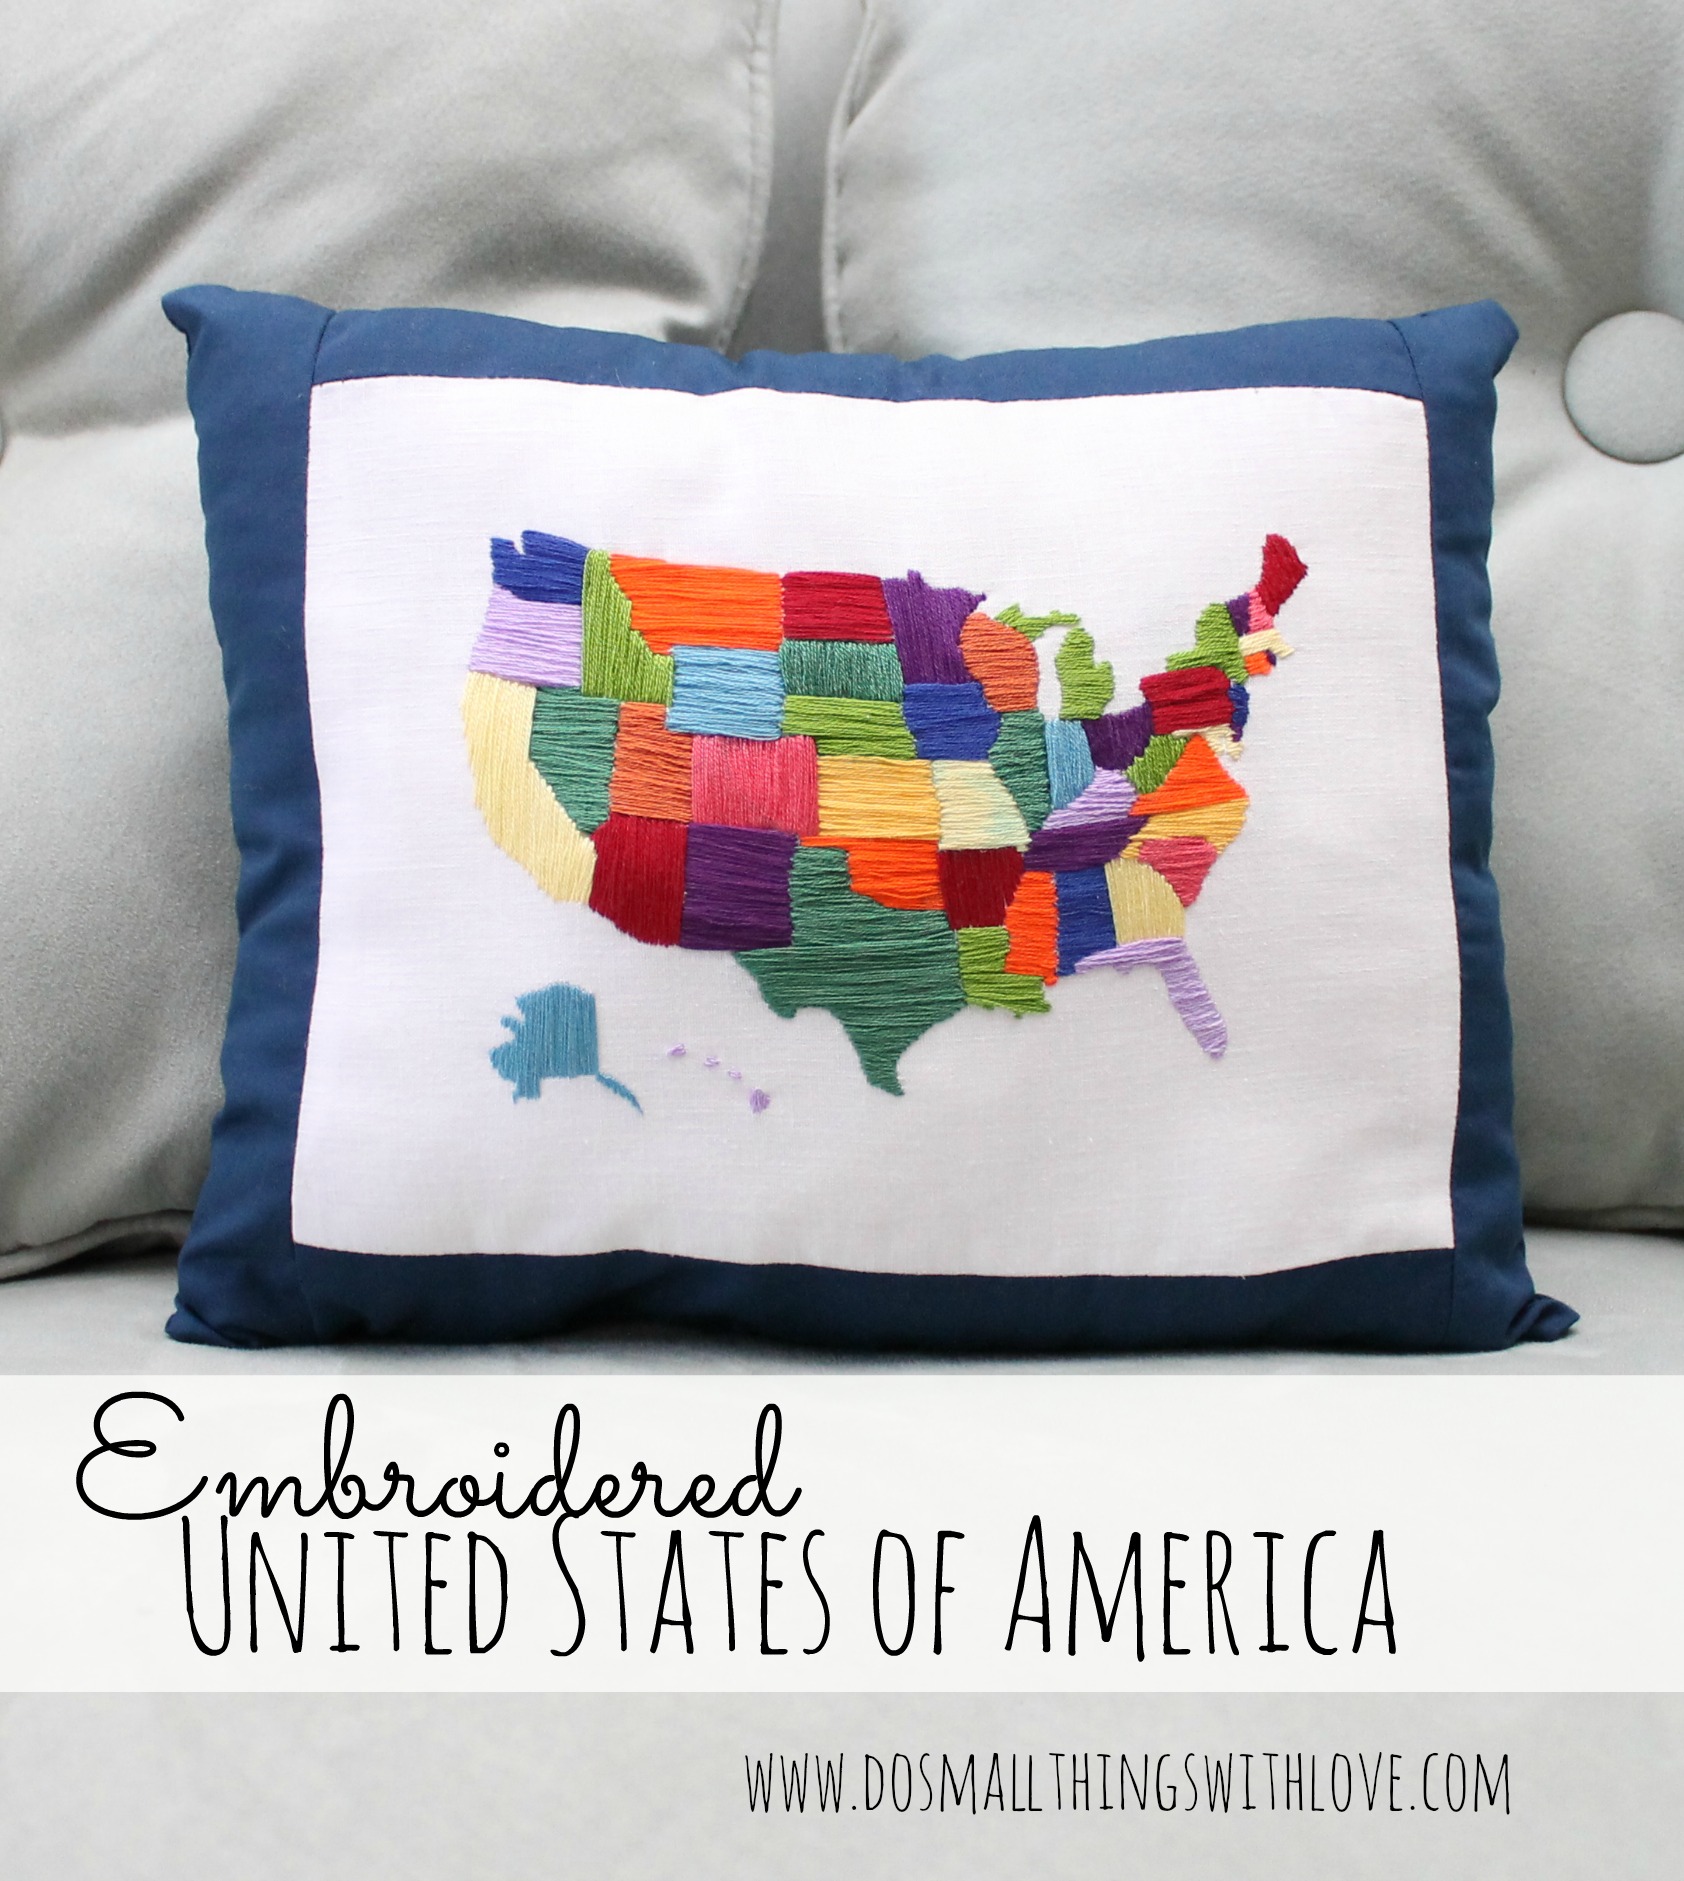
Today I have another embroidery project to share with you–one that I am really proud of: An Embroidered United States of America.
Before I dive into the tutorial, I want to be totally honest.
I did not come up with this idea. I saw a project very similar to this one on Pinterest…but…
When I clicked on the link I ended up, nowhere.
It seems that an Etsy shop was selling embroidered United States, but that Etsy shop doesn’t exist anymore?
Well, after searching and coming up with zero I decided to stitch one up myself.
It’s really easy.
Even someone who is a very beginner embroider would easily be able to complete this project.
It takes some time (like all good things) but the process is very simple.
Want to make one yourself?
How to make an Embroidered United States of America
Supplies:
- Neutral, non-stretch fabric
- Iron-on Interfacing
- Water soluble marker
- Digital Map of United States
- Embroidery Hoop
- Variety of Embroidery Thread Colors
- Navy Cotton Fabric
- Polyfil
- Sewing Machine
This embroidery project is just a whole lot of Satin Stitch.
Now, if you’ve spent any time around this blog, you know that I love and use satin stitch OFTEN.
I love satin stitch because it allows you to fill in an entire area quickly and it shows off all of the beautiful colors that embroidery thread comes in.
A quick recap, in case this is your first attempt at Satin Stitch.
Satin stitch is just a series of parallel stitches that stretch the length of any given area.
The intend is to completely fill the area.
When I do satin stitch I usually use 3 or 4 threads at once.

The first step of this project is to prep your material.
Iron-on interfacing to the back of your neutral non-stretch material.
Then, pull up a picture of the United States on your computer screen.
I would recommend finding a picture the doesn’t have all of the names written in.
This will make the next step easier.
Once you have the image to the size you want, tape your fabric to the screen and, using the water-soluble marker, trace the outline onto your fabric.
Try to be as detailed as possible.
Then, start stitching.
Review the satin stitch details above.
Use a variety of colors and allow your stitches to go in a variety of directions.
This will add texture and interest to your work.
It takes a little time, but just keep stitching, just keep stitching, just keep stitching!
As a final step, I made my embroidery into a pillow.
The process here is pretty simple.
First, wash away the water-soluble marker.
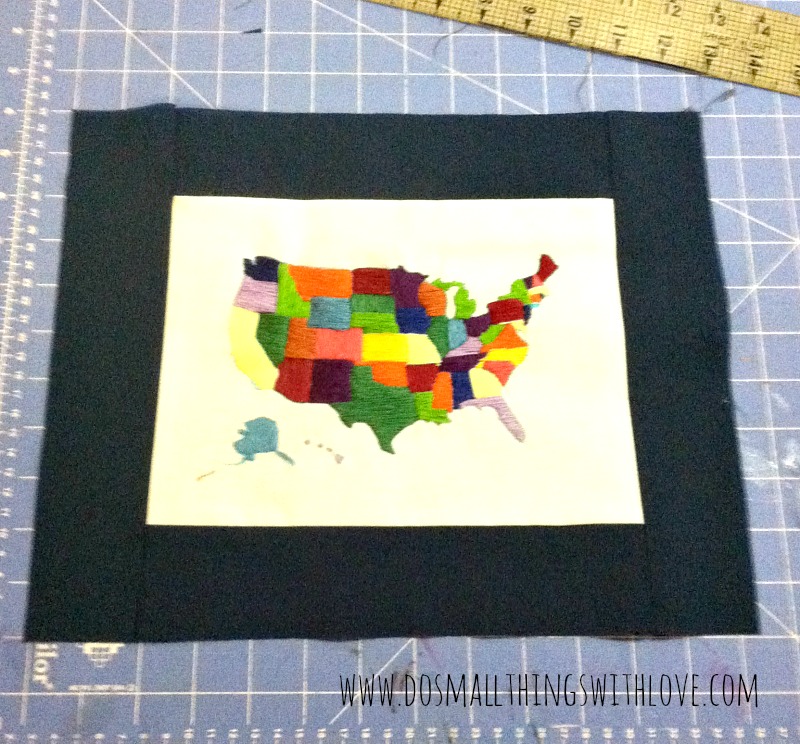
Then, trim the sides of the fabric, so that it is a straight rectangle.
Next, cut two-inch strips of navy material. Sew a strip on the top and bottom of the embroidery.
Then, trim so that the sides of the embroidery are even with the sewn-on strips.
Next, sew on a strip to each side.
Iron all seams flat, and trim, if necessary.
Finally, cut out a rectangle of navy material that is identical to the rectangle you have created with the embroidery.
With right sides in, sew around the outside, leaving a small opening.
Flip to right sides are out, and push out the corner.
Fill with polyfill.
I found that it was better to really stuff the pillow full than to underfill it, as with will keep the stitches pulled tight.
Then, hand stitch shut the opening.
Ta-da!
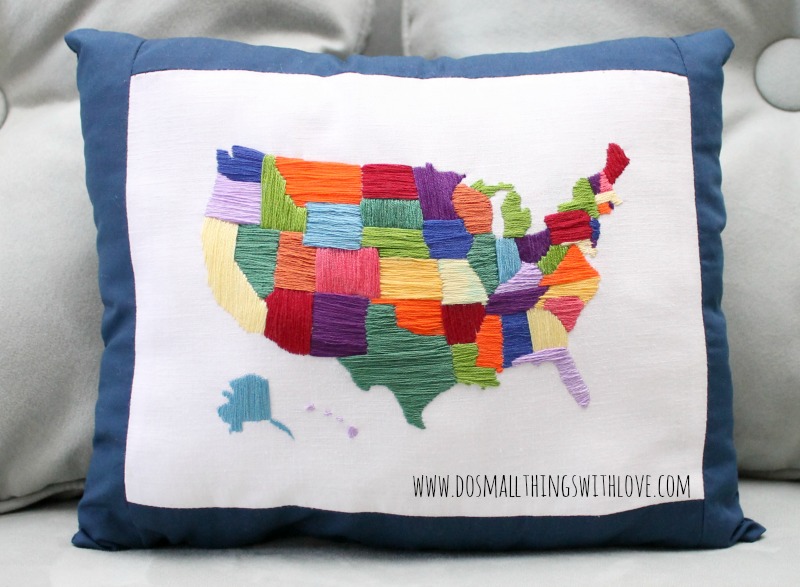
I hope you consider giving this project a shot. It really is easy, and I love how mine turned out
Thanks for stopping by

Nice plow and lovely work embroidery design
Thanks for the sharing
This is the nice work for embroidery
Thanks for the sharing information.
This is the nice work
This is absolutely beautiful are they available to purchase ?
Would you be willing to re create your USA emboridery pillow for sale?
Yes! Message me on etsy and we will work out the details! https://www.etsy.com/shop/DoSmallThingsWLove
Love it Love it Love it!!!
thanks!
[…] your patriotism with simple stitching to create an embroidered USA pillow like Nancy at Do Small Things With […]
[…] Click HERE for the instructions […]
What size is the map you chose?
It is totally up to you, but I used one that was about 10 inches wide
This is fantastic! I tried to embroider a US map but it was a disaster. I was just doing a back stitch outline but I didn’t use a sturdy enough fabric or any interfacing so it was puckering up where I stitched. And I had the hardest time with the smaller east coast states, I just gave up. It looks amazing with the satin stitch!
OMG…put Alaska in the right place please!!
[…] Embroidered United States of America […]
I’m the Editorial Assistant for Fun Family Crafts and I wanted to let you know that we have featured your project! You can see it here:
http://funfamilycrafts.com/embroidered-united-states-america/
If you have other kid-friendly crafts, we’d love it if you would submit them. If you would like to display a featured button on your site, you can grab one from the right side bar of your post above. Thanks for a wonderful project idea!
Wow–I’m thrilled! Thanks for letting me know!
This is such a fun idea and I love how beautiful your pillow turned out. Makes me want to try it myself 🙂
This is so nice. You did a really great job!! I’m hosting a pillow cover giveaway that you should enter. http://homecomingmn.blogspot.com/2013/11/michelle-dwight-designs-pillow-cover.html
Thanks–and thanks for letting me know!
i love this! i really want to try this now
[…] See the tutorial here. […]
this. is. amazing!
Ahh, gee, thanks!
I love it! So colorful and lovely.
Thank you! It was fun to make.
I LOVE this Nancy!! What a creative idea! I would love to make one with all the states my kids were born in filled in. 🙂
That’s a really creative idea, Katie! where they all born in different states?
Lo-oove this embroidery project. I’m thinking I want to do one of just my home state. Or one of the US with only the states we’ve lived in filled in. Hmmm, you’ve got the wheels turning.
Do it, Susan! In fact, I made this for my sister, who is married to a guy in the military. They have lived all over the US, so I thought it was perfect for them! If you made something, i’d love to see it!
Aww. So nice. You’ve inspired me! Not sure if I would be talented enough to do this project though.
Love looking at it. : )) Colors make me smile.
You are totally talented enough to do this! It is much easier than it looks!
This is amazing, Nancy!
You’re so sweet, Dianna!