Satin Stitch Star

Hello!
I am excited to share another embroidery project with you today–one that is as colorful and fun as it is easy.
Really.
I know that I have shared about statin stitch a few times here on the blog.
Check out this post, and this and this.
If you can’t tell I really like satin stitch. It is easy, quick, and allows you to really show off all the wonderful colors that embroidery floss comes in.
This is probably the easiest, and quickest satin stitch project I have made so far.
It is also the most straightforward.
And so, grab your embroidery supplies, and let’s get stitching.
Supplies:
- Neutral Background Fabric
- Iron-on Interfacing
- Magic Marker
- Boldly Colored Embroidery Floss
- Embroidery Hoop
- Needle, Scissors
I hate to say it–but I did this project while on vacation, and I got to chatting with my sister, who was also embroidering, and I failed to take many progress pictures.
But, like I said this is a simple project.

Here’s what I did:
- First, iron-on interfacing to the back of your neutral fabric. This will give it some strength when you start to stitch.
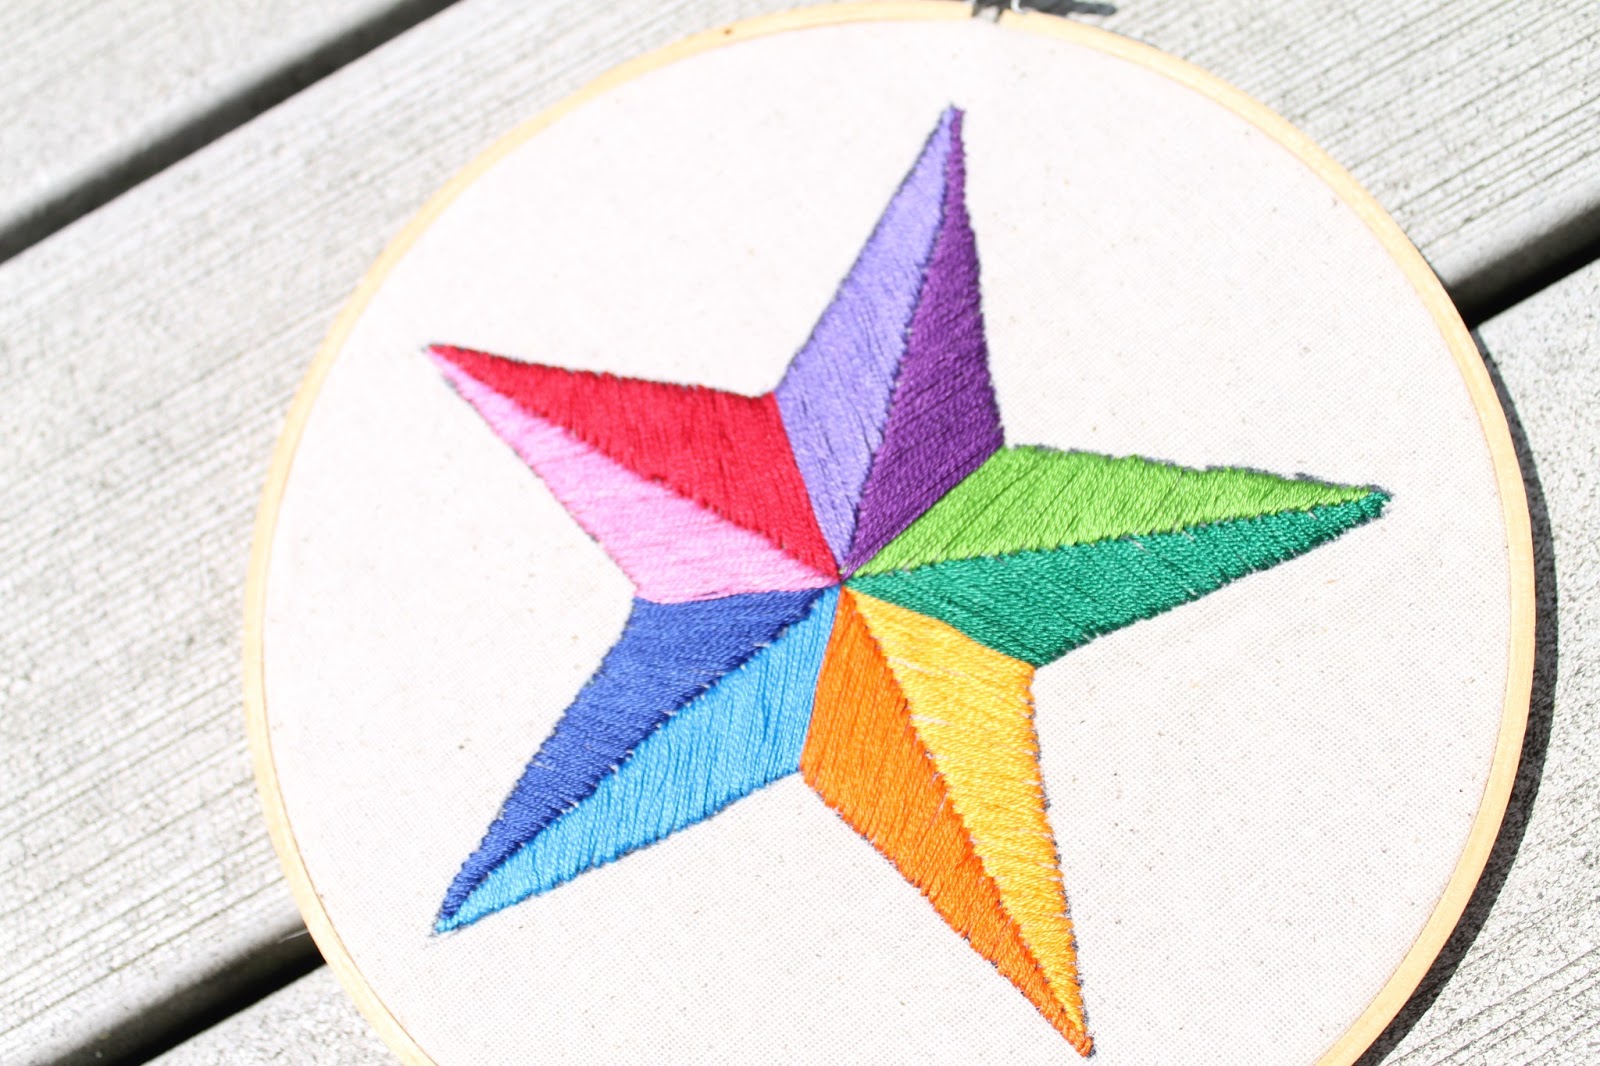
- Then, draw out your shape. As you can see, it’s super simple, just a star with a line down each arm.
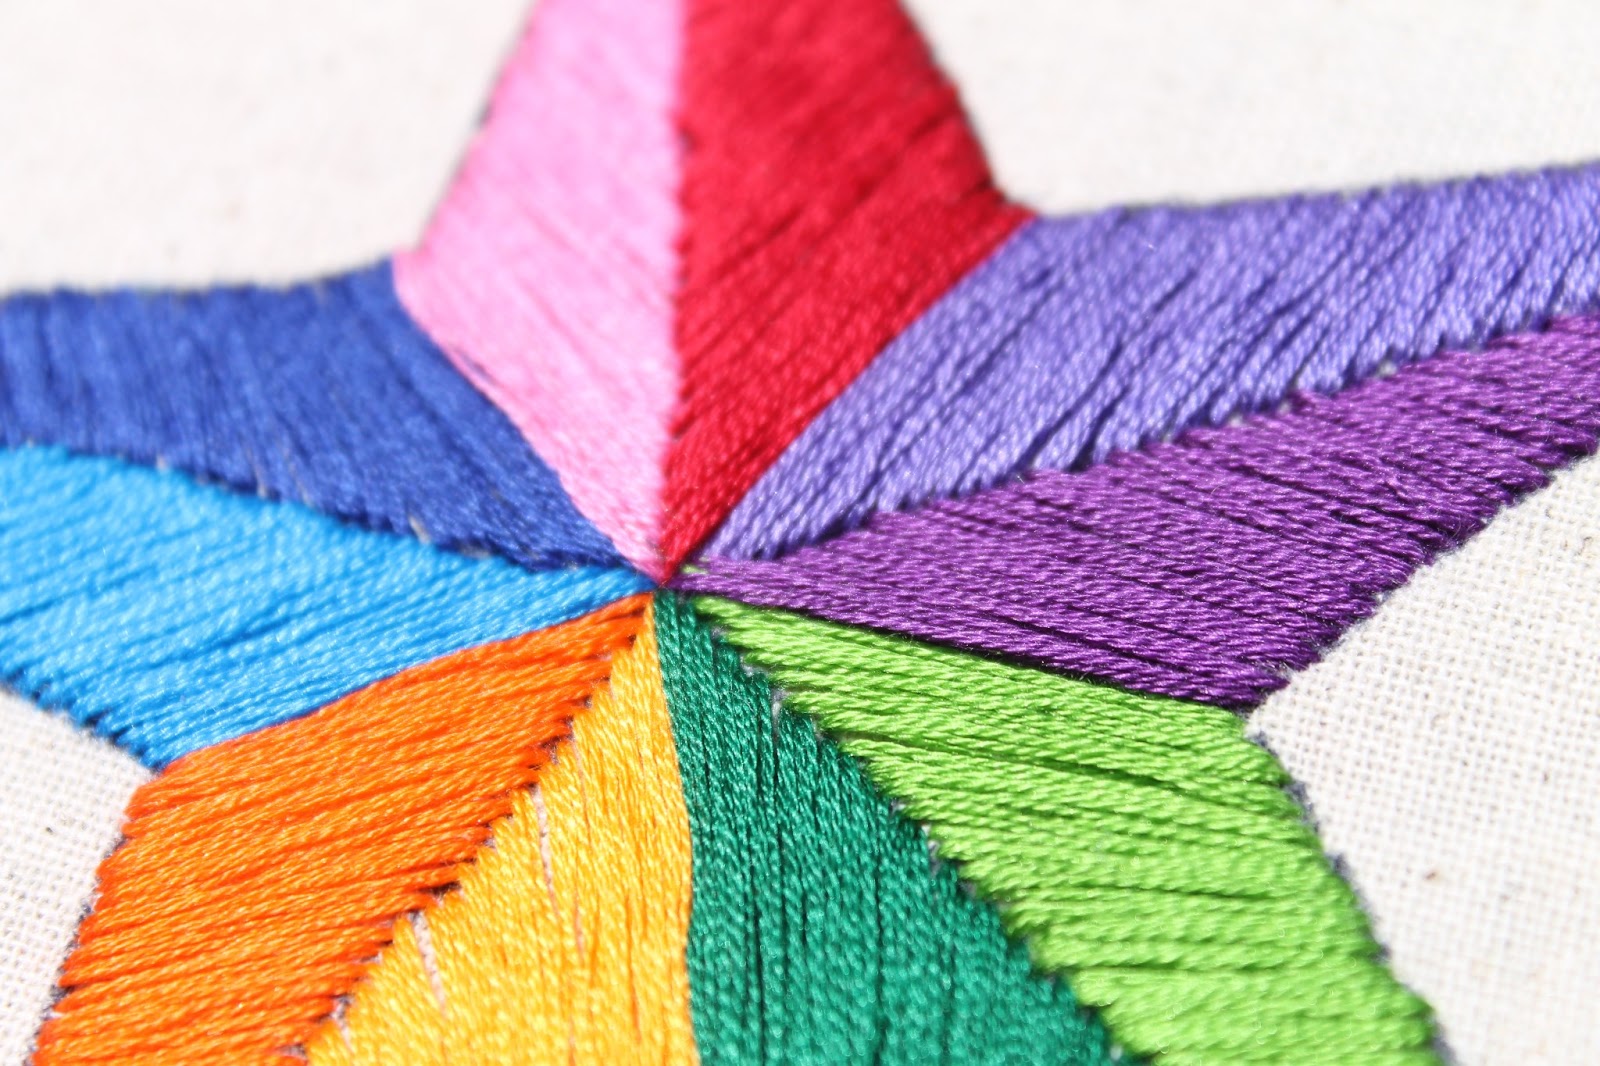
- Next, start stitching! A satin stitch is a long stitch that starts at one edge and goes clear across to the other. The goal of a satin stitch is to fill in an area completely. If you look closely you can see that I started stitching at the center and worked my way down each arm.
- Well…and that’s it!
A simple project, but I love the results.
Don’t you?
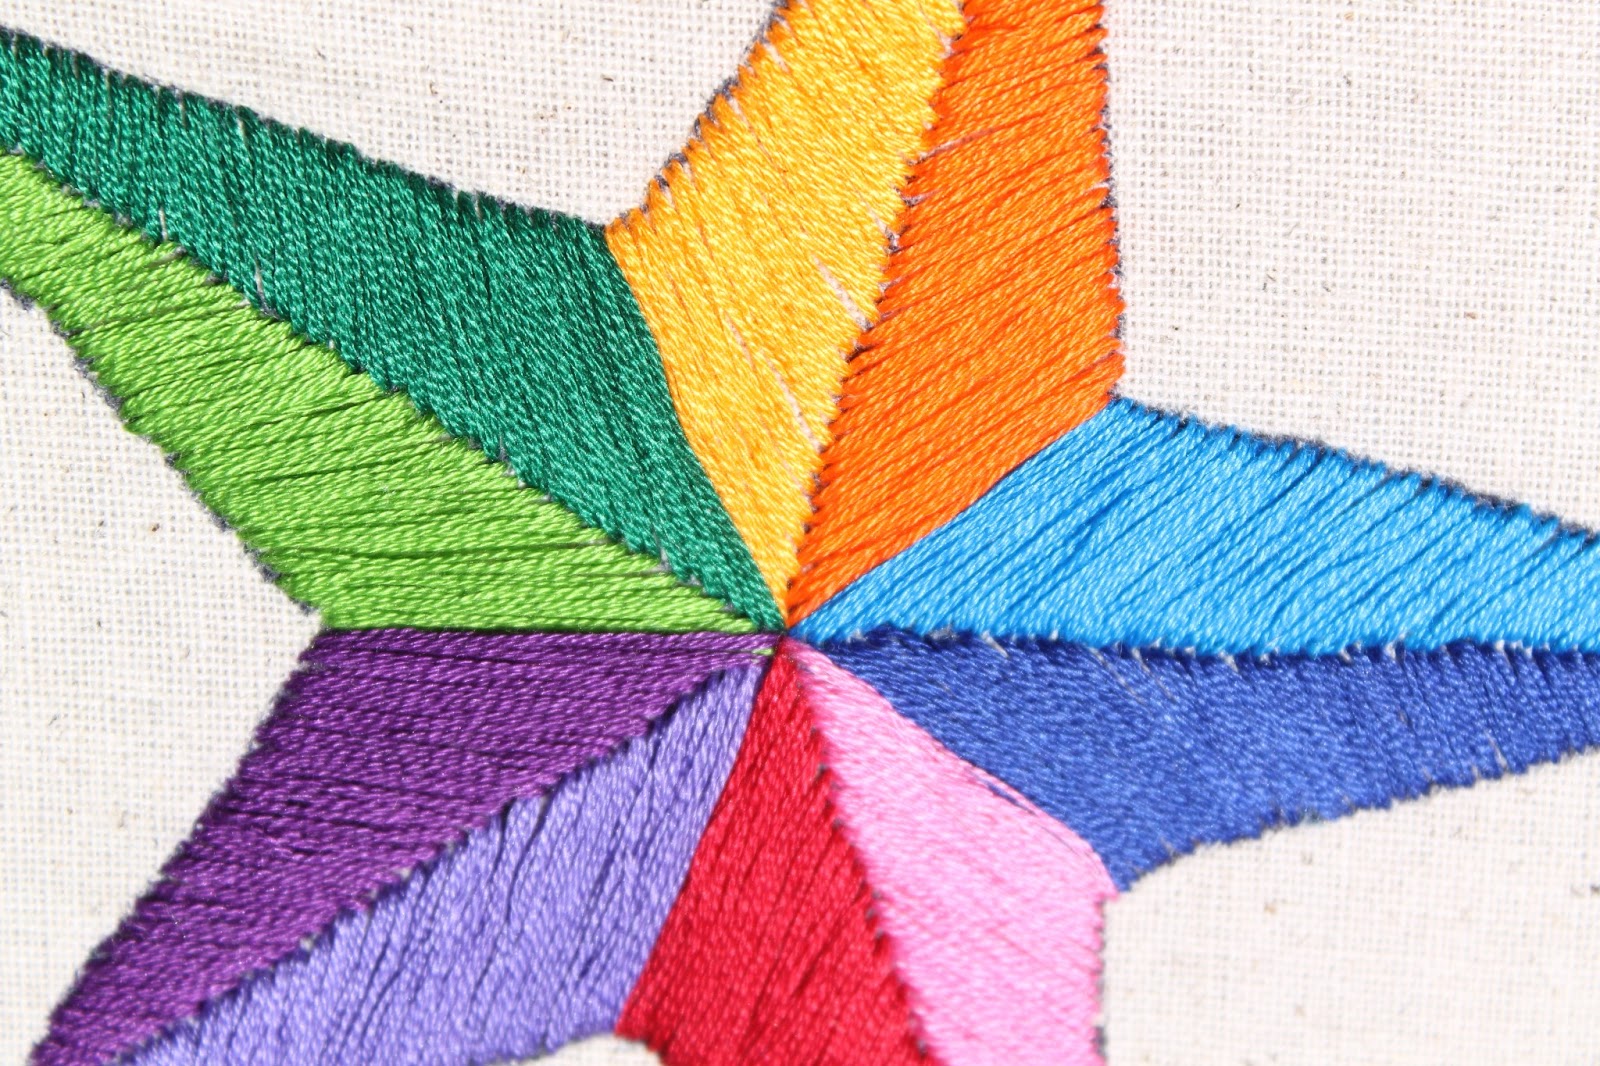
I thought the center was especially cool, so I took two pictures of it.
And there you have it! I hope you give satin stitch a try–but be careful.
It’s habit-forming!
Thanks for stopping by,

I’ve been wanting to find different ideas to fill embroidery hoops for art as I’ve seen several times on blog land. This is really pretty and since I have gobs of embroidery floss in many colors I could get started right away.
Yours is so pretty, love colors you used. I was thinking I could use different shapes to embroider and make a set of 3 perhaps. Hubs and I are trying to find our niche in selling crafts. We make lots of different things, wood pallet items, table runner and cushion covers. I like to work with many mediums as I seem to get bored easily and need something different to work on.
Sure glad you shared your embroidery star, it’s sure inspired me. Happy days
This is the coolest embroidery ever! Do you think it would be possible to add beads somewhere? I saw your post on craftgawker right above mine and had to come visit! Now I’m a follower!
That is lovely! I really like your choice of colors. I’ve never tried a satin stitch, but this makes me want to do so!
I love your satin stitches! I think that’s what I’m going to have to try next.