Simple Cross Stitched Christmas Ornaments
December 17, 2013
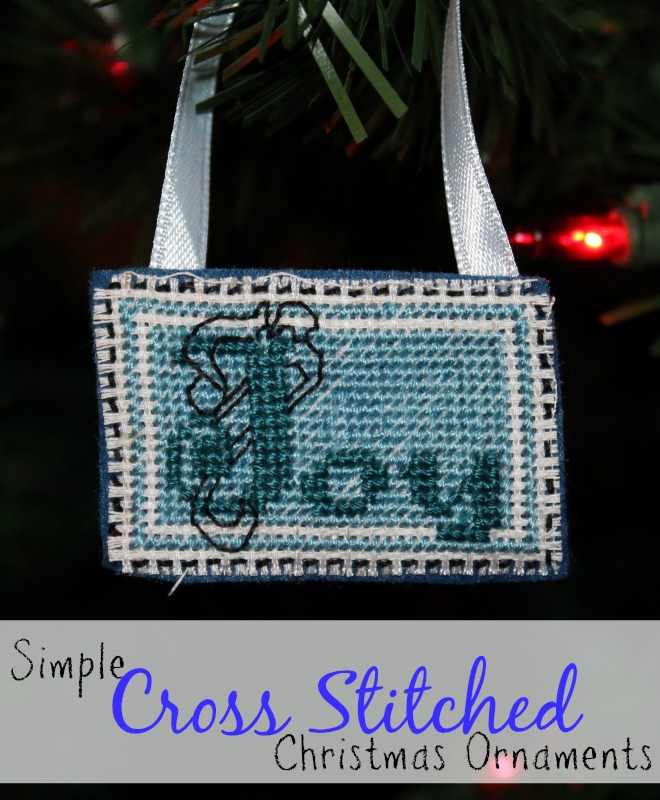
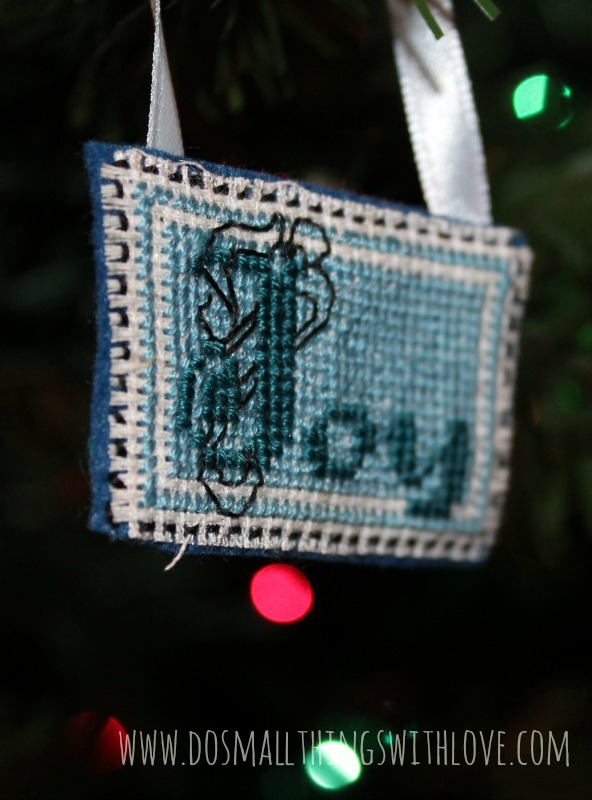
I mentioned last week in this post that Christmas gets me in the mood to cross-stitch. And, today’s project, simple Cross Stitched Christmas Ornaments, fits right into that theme.
As I’ve shared before, it is a tradition (or competition?!?) between my sisters and me that we cross-stitch up, oftentimes elaborate Christmas Stocking for our children.
I have complete 2, which took me countless hours, but more impressively, my older sister just had her 5th child this fall and is close to completing her 5th amazingly detailed cross-stitched Christmas Stocking.
But, as we all well know, Cross Stitching takes time, oftentimes lots of time.
So, I have enjoyed doing some smaller Cross Stitch projects lately.
They still take time, but it is time I enjoy, a time when I can put up my feet, maybe watch a movie, and stitch while I relax.
My husband is once again away on a business trip, so this Simple Cross Stitched Christmas Ornaments kept me occupied and happy in the evenings I have been spending alone.
Here’s how to make your own Simple Cross Stitched Christmas Ornaments
Supplies:
- Cross Stitch Fabric (small or big count, depending on the size of finished ornament you want)
- Embroidery Thread
- Iron-On Interfacing
- Colored Felt
- Ribbon
- Large Letter Pattern
The first major part of making these ornaments is stitching the words
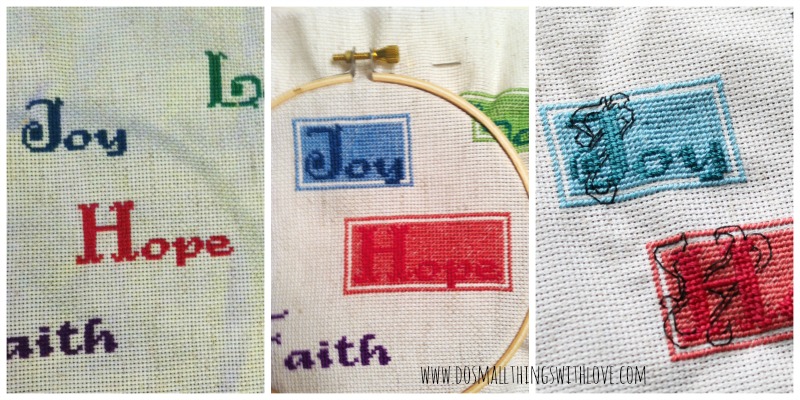
- In whatever colored thread you want, stitch out each Christmas word. For the first letter I used THIS PATTERN, which you can click and print. For the rest of the word I used this free on-line caption maker, which you can also design and print out for free. I used three thread for this part.
- In another shade of that same color, stitch around the outside of the word with a 1/2 stitch. A 1/2 cross stitch is just as it sounds. Instead of making an “X”, you only make the first part of the cross, or a “/”. I created a rectangle that contained all of the wording, and then skipped a line all the way around, and framed it with one more line of 1/2 stitches. I also used three threads for this step.
- Go back to the PATTERN PROVIDED and add the fancy details to the first letter of each word with a single strand of black thread.
Now that the lettering is done, it’s time to make it into an ornament!
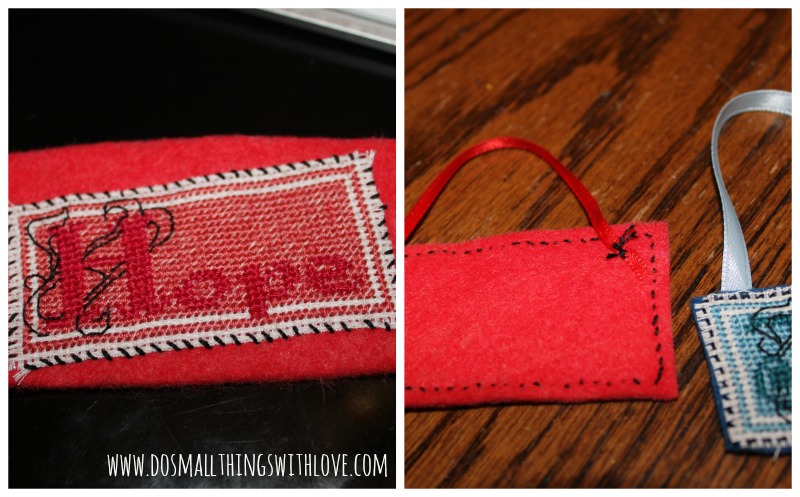
- Iron on interfacing to the back of your cross stitch and then cut out each word, leaving 2 rows of empty stitched all the way around.
- Place the cross stitched word on top of a piece of felt and use a whip stitch, or running stitch to sew the lettering onto the felt.
- Cut a short length of ribbon and sew it onto the back, to create a hanger.
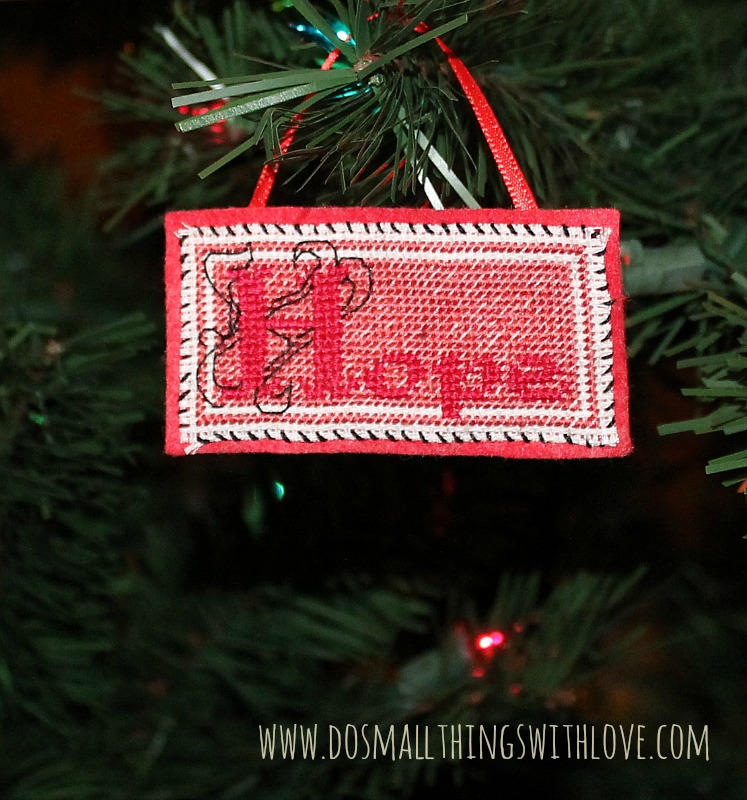
And, finally, display on the tree!
Well, I think my cross-stitch craving has been satisfied. I am always amazed how even a small cross stitch project can really take a lot of time! But, it is an enjoyable time!
Thanks for being here–and if you are like me, a cross-stitcher, I’d love to hear from you!!!
Take care,

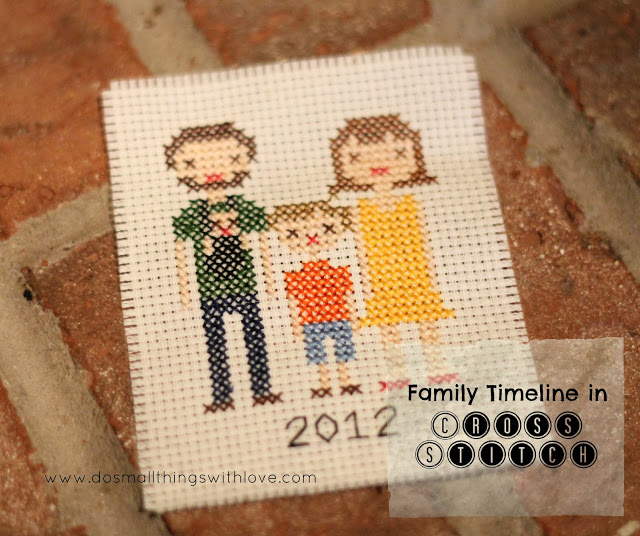
PS–if you liked this project, check out this fun family cross stitch project!
Family Timeline in Cross Stitch
Just Crossstitch Ornament 2013
[…] . Please do not use tutorial photos or photos of my family. I know that by publi […]
I’ve have to try that! I’ve never cross stitched anything that didn’t come from a kit.