Pony Tail Girl Broaches (With FREE template)
Hello Hello!
Before I start in on today’s project, I just want to write a few words about my wonderful, wonderful husband.
I had a birthday a few days ago (I’m still having birthdays, but no longer aging) and he gave me a spectacular present.
He gave me an entire day (today) too.
And so, I am sitting here, at Panera, munching a bagel, sipping a mocha, blogging.
Ahhhh… And just so you know, my usual blogging routine goes something like this: running to the computer as soon as both kids are asleep, getting as much done as quickly as possible, then grabbing the baby when she wakes us and trying to bounce her/nurse her on my lap so that I can finish up the post I am working on (which I raring accomplish) before the little guy gets up and then the blogging window closes.
But today, I can leisurely sit here and type away…and in the process get a little long-winded!
Ahhhh, thank you, Lord, for my wonderful man!
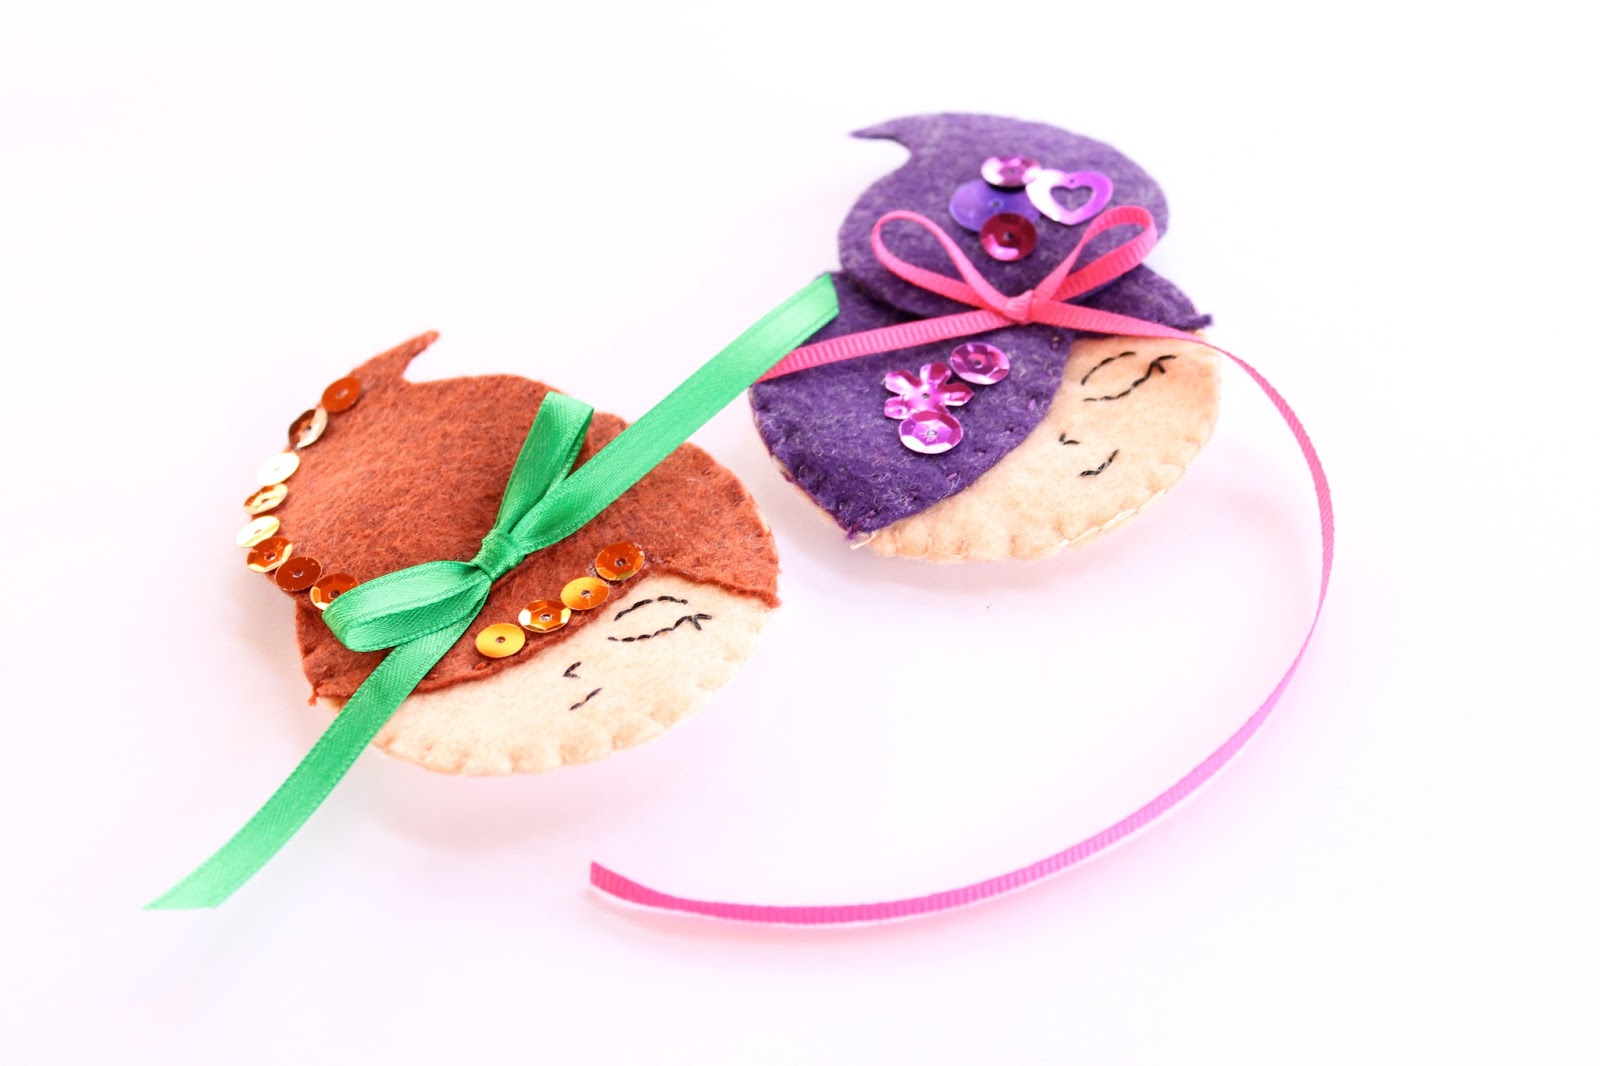
Okay, enough of that, onto the project! I got a funky one for you today:

So, I like wearing broaches, especially when they add a little funk to an otherwise ordinary “mom” outfit.
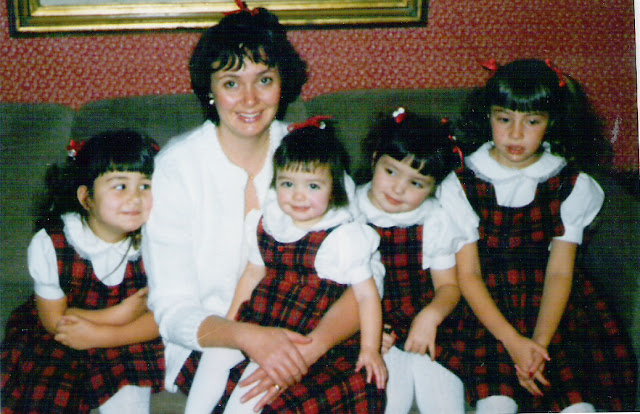
I stitched up these Pony-Tail girls in honor of my three sisters.
And I was the second of four girls in my family. I distinctly remember sitting on the bench, eating breakfast and my mom walking down the line of us with a hairbrush doing our hair.
She’d often ask “side of the back”–because it was the late ’80s early ’90s and side pony-tails were common–and then quickly do one girl’s hair before moving onto the next.
Great memories!
And each Sunday at mass our hair would always have a ribbon!
See what I mean (any my crafty mom sewed all those dressed too!):
Here’s the how-to on this project (and guess what, I made you a template!)
Supplies:
- Wool Felt
- Embroidery Thread and Needle
- Ribbon
- Sequence and Jewelry Glue
- Safety Pin
- Template
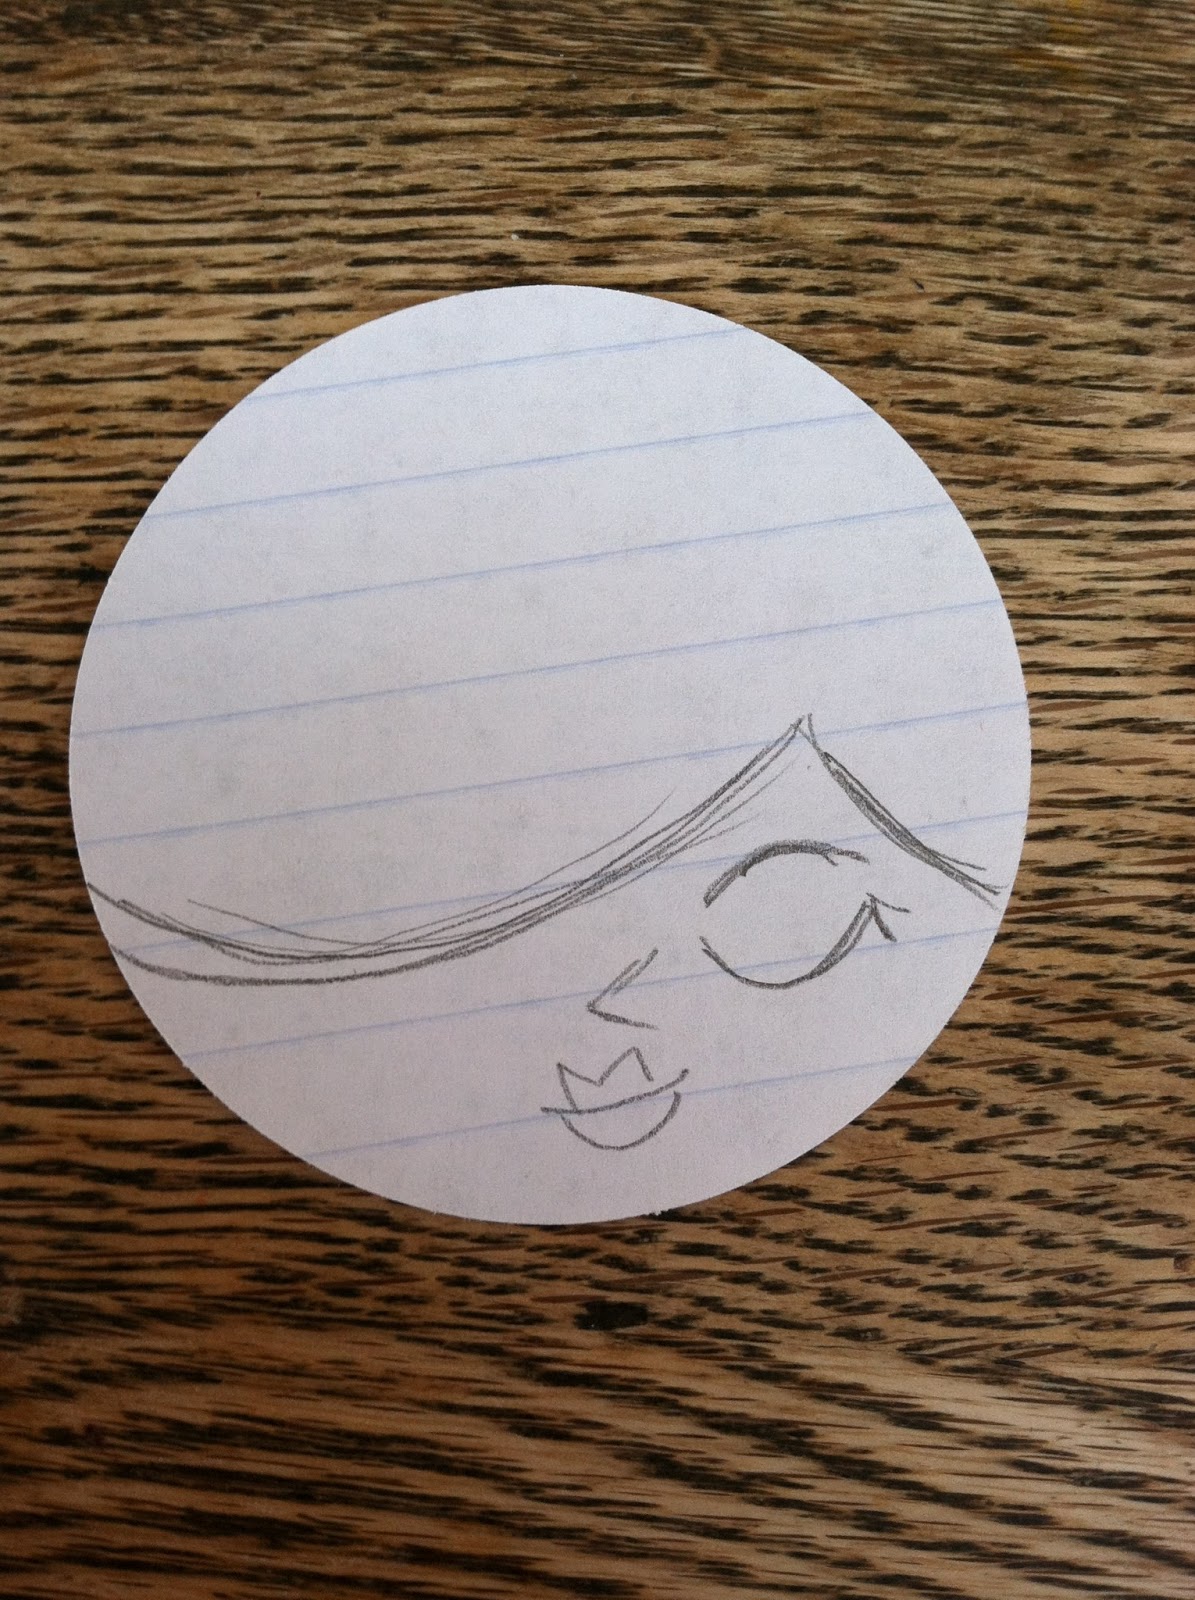
Here is the sketch that I started this project with (I used my 2.5-inch punch, that’s why the circle is so perfect).
Pretty simple, right?
This is how most of my projects start out, with a sketch.
Then, I cut up the sketch and use it as a pattern.

- First of all, use the template to cut out the four required pieces.
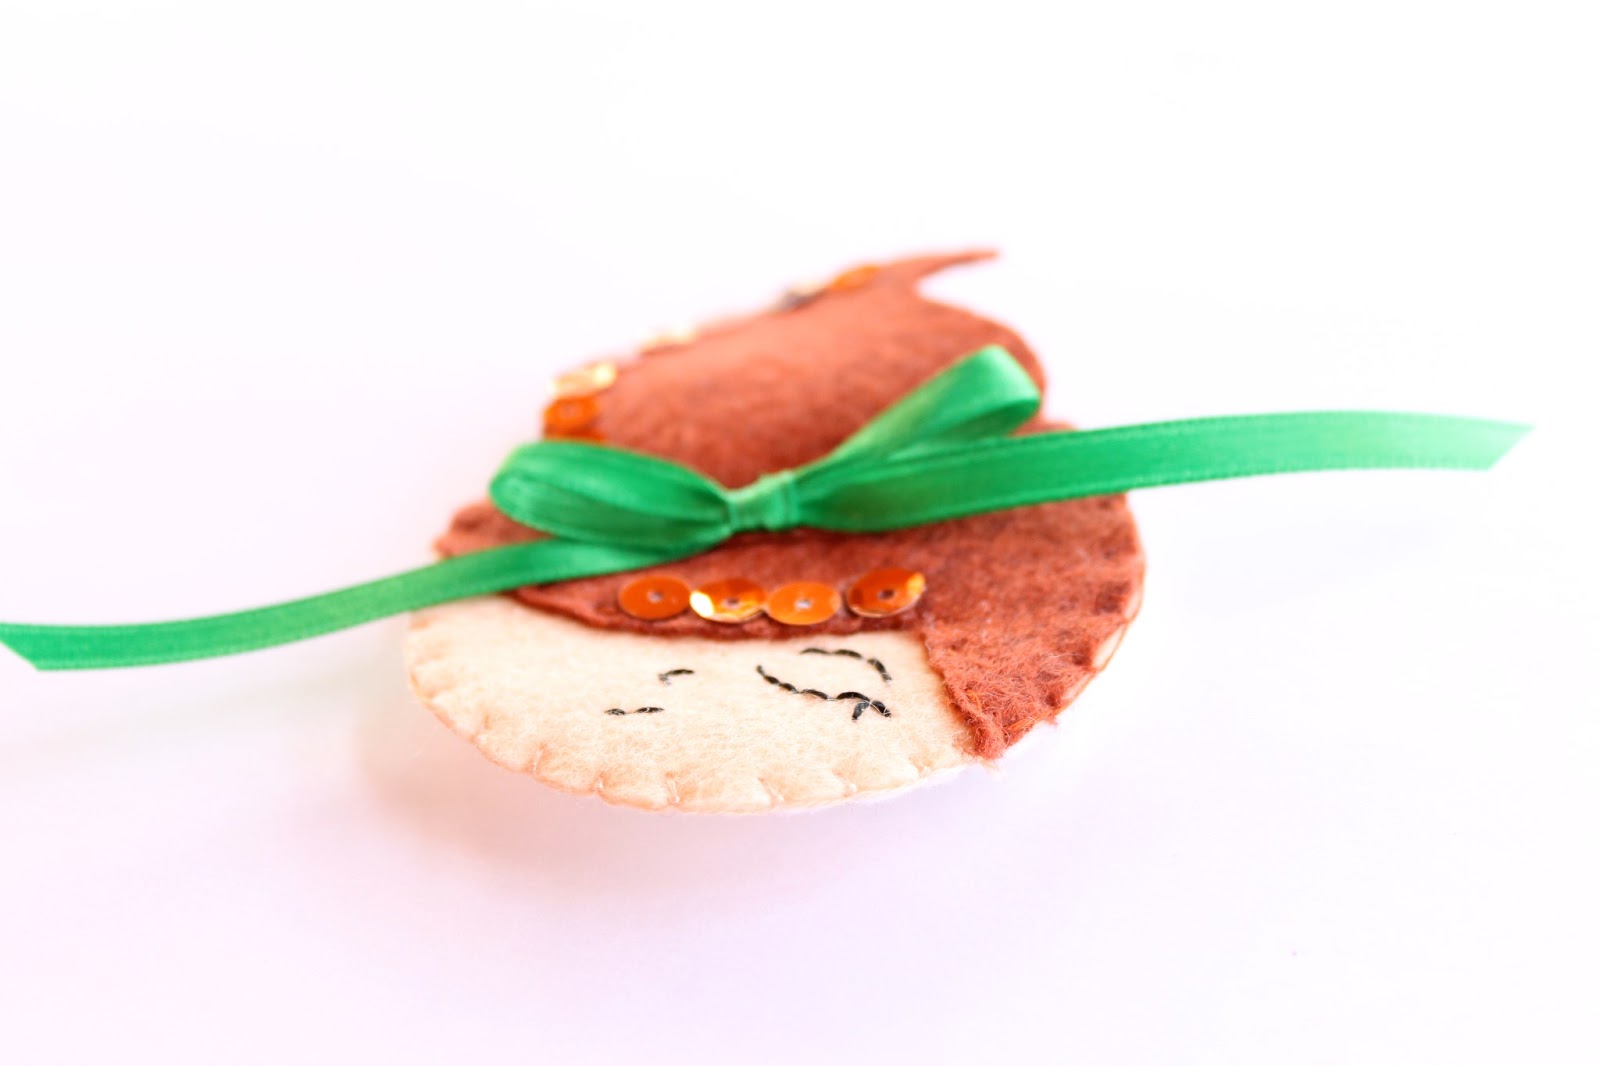
- Then, use a running stitch to sew on the hair piece.
- Next, add face details. I used two black threads for this step.
- Then, sew on the base of the pony tail with a few running stitches. I attached just the bottom because I wanted my pony tail to have some bounce!
- After this, place the back piece behind and use a blanket stitch all the way around, stitching underneath the top of the pony tail.
- Finally attach a ribbon, sequence and a safety pin to the back.

I like wearing broaches. I don’t care if that makes me sound like an old woman!
PS–Here are another broaches I made for St. Patty’s Day!
I love that you stopped by! Have a wonderful day,

[…] love These […]
[…] Pony-Tail Girl Felt Broaches […]
These broaches are looking very beautiful.These are really very easy to make.Thanks for this awesome post……
ponytails
Sooo cute! You are a great artist. I love the way you made the faces. :0) Thank you for sharing at our Simply Create Link Party. I can’t wait to see what you share tomorrow!
Melissa
redflycreations.com
This is so sweet! Thanks for sharing and for the template, too. Your friend, Linda
aren’t they darling, all the little girls in the picture too!
These are so cute! I’d love to make these, thanks for sharing. http://craftwithcartwright.blogspot.co.uk
These are super cute! Just wanted to let you know I think they’re adorable, and even doable for me, someone who doesn’t sew much at all! Stopping by from Live. Laugh. Rowe.
Oh my! These are so cute!!!
those are adorable!
Awwww how adorable are these??? I love the swooped bangs and pony tail. Cute!